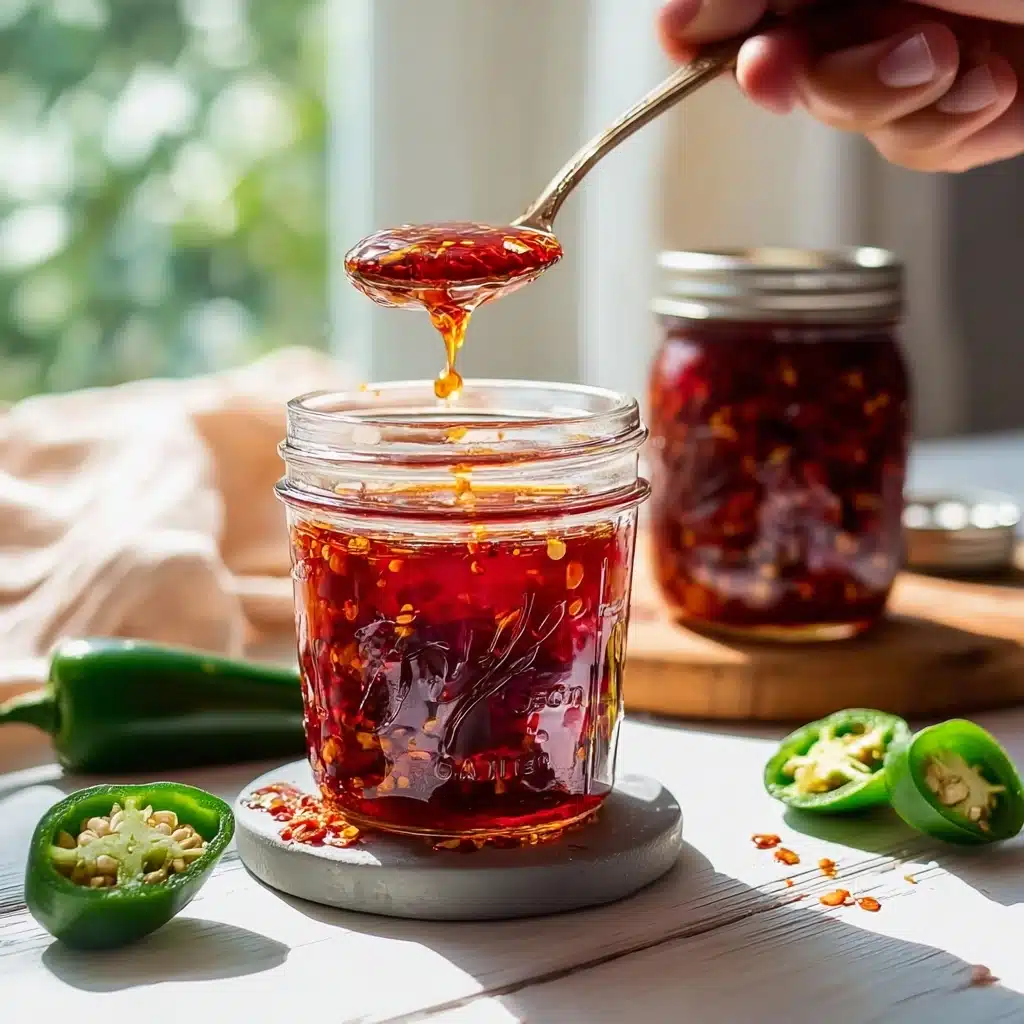
Pepper Jelly Recipe
If you’ve been on the hunt for a vibrant, flavorful spread that can transform any meal into a memorable experience, this Pepper Jelly Recipe is exactly what you need. Bursting with the lively tang of apple cider vinegar, the sweet crunch of bell peppers, and just the right amount of gentle heat from jalapeños, this jelly offers a perfect balance of sweet and spicy. Whether you slather it on toast, serve it alongside cheese, or use it as a glaze, this Pepper Jelly Recipe is a delightful homemade treat that’s both impressive and surprisingly simple to make.

Ingredients You’ll Need
Gathering the right ingredients for this Pepper Jelly Recipe is straightforward and rewarding. Each component plays a crucial role: from the crisp bell peppers that provide sweetness and color, to the punchy vinegar that brightens the flavor, and the sugar that brings everything together with a perfect set. These essentials come together to create a jelly that’s vibrant, fresh, and full of character.
- Red bell pepper (1 cup finely chopped): Adds a natural sweetness and a beautiful red hue to the jelly.
- Green bell pepper (1 cup finely chopped): Provides a mild crunch and fresh color contrast.
- Jalapeño pepper (¼ cup finely chopped, seeds removed): Offers just enough heat without overpowering the sweetness.
- Apple cider vinegar (1½ cups): Brings acidity to balance the sugar and brighten the flavors.
- Liquid fruit pectin (1 package, 3 oz): Essential for setting the jelly to the perfect consistency.
- Granulated sugar (5 cups): The sweet backbone that transforms the peppers and vinegar into a luscious jelly.
- Red pepper flakes (1 tsp, optional): Adds extra kick for those who like their jelly with a bit more fire.
- Salt (½ tsp, optional): Enhances overall flavor by balancing sweetness and heat.
- Food coloring (a few drops, optional): For a more vibrant red or green appearance in the final jelly.
How to Make Pepper Jelly Recipe
Step 1: Prepare the Peppers
Start by washing and drying all your peppers thoroughly to remove any dirt or residue. Next, remove the stems, seeds, and ribs — this is important for controlling the heat and ensuring a smooth texture. Finely chop the peppers by hand for a bit of texture or pulse briefly in a food processor, but be careful not to overdo it to maintain some delightful bite in your jelly.
Step 2: Combine Ingredients in Pot
Place the chopped peppers along with the apple cider vinegar and sugar into a large, heavy-bottomed pot. Stir to combine everything evenly, then bring the mixture to a full rolling boil over high heat. Your attention here is key — stir constantly and boil for 1 to 2 minutes to ensure the sugar dissolves fully and the flavors meld.
Step 3: Add Pectin
Now it’s time to add the magic that will set your jelly perfectly: the liquid fruit pectin. Stir it into your boiling mixture and continue boiling hard for exactly one minute. This step is crucial to get a nice, firm jelly texture. Once done, remove the pot from the heat, and gently skim off any foam that may have formed on the surface.
Step 4: Optional Color Boost
If you want to give your jelly an extra pop of color, now’s the moment to add a drop or two of food coloring. Whether you prefer red or green, this addition is purely aesthetic but can make your jars look stunning, especially for gifting or entertaining.
Step 5: Ladle Into Jars
Carefully pour the hot jelly into sterilized half-pint jars, leaving about a quarter-inch of headspace at the top to allow for expansion during processing. Wipe the rims clean to ensure a good seal, then place the lids on and screw on the bands until just fingertip tight — no need to overtighten.
Step 6: Process the Jars
To safely preserve your jelly, submerge the jars in a boiling water bath for 10 minutes, starting the timer once the water returns to a boil. This step ensures your jelly will be shelf-stable and safe to enjoy for months to come. Once processed, carefully remove the jars and let them cool undisturbed for 12 to 24 hours.
Step 7: Check the Seal
After cooling, test the seals by pressing the center of each jar’s lid. A properly sealed lid will be firm and not spring back when pressed. If any jars did not seal correctly, simply refrigerate and use them first, as they won’t be shelf-stable but will still taste wonderful.
How to Serve Pepper Jelly Recipe
Garnishes
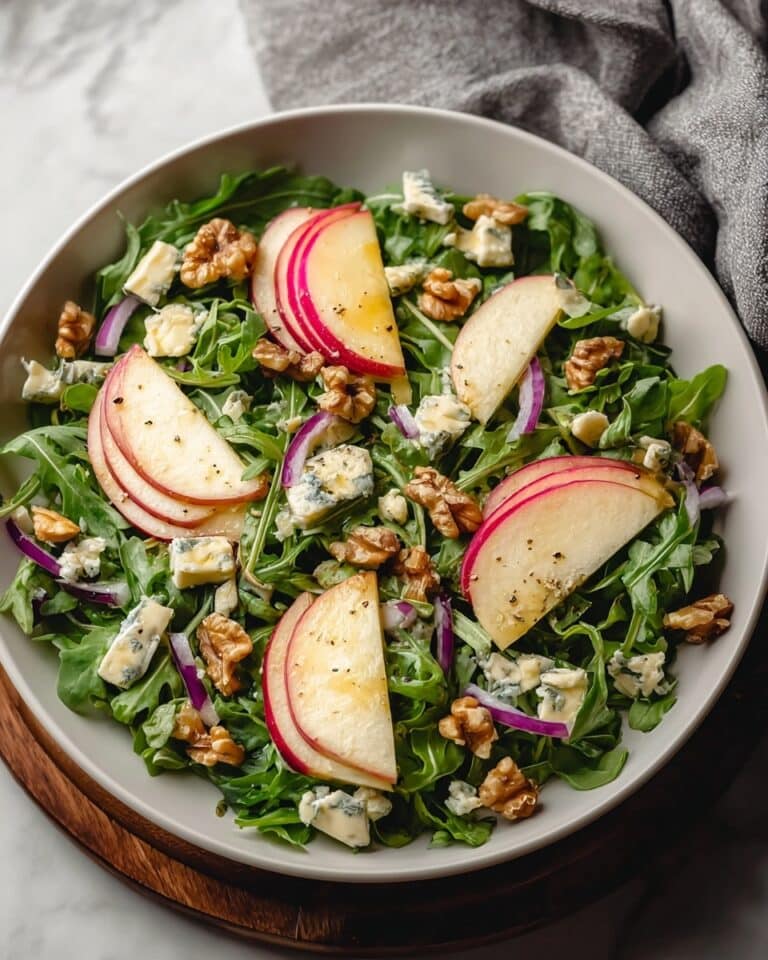
Pepper jelly shines beautifully when paired with a few simple garnishes. A sprinkle of fresh herbs like thyme or basil can complement the spicy-sweet notes wonderfully. For a fun, festive touch, scatter chopped nuts or gently crumble some creamy goats cheese or sharp cheddar on top to contrast the jelly’s sweet heat.
Side Dishes
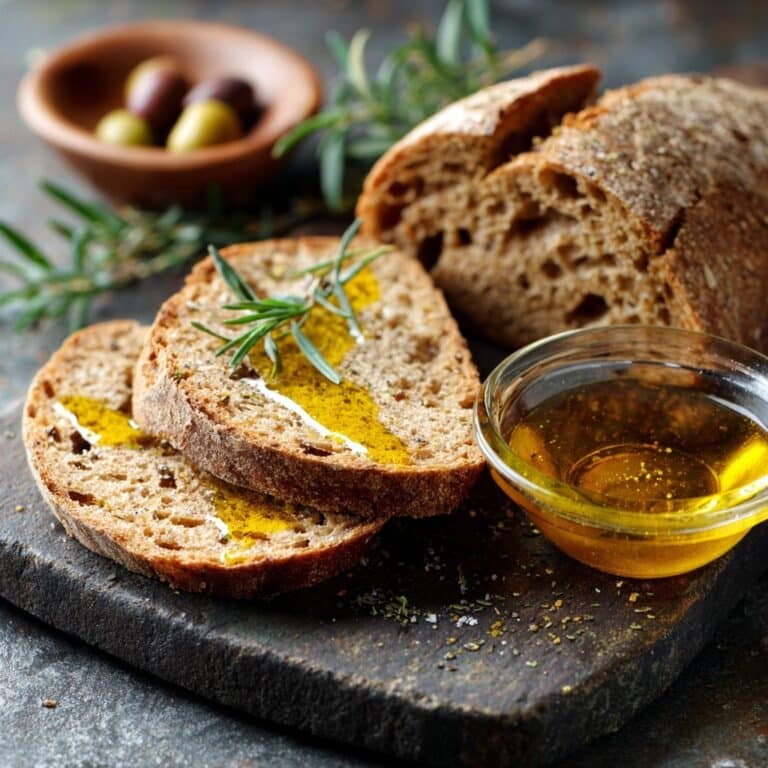
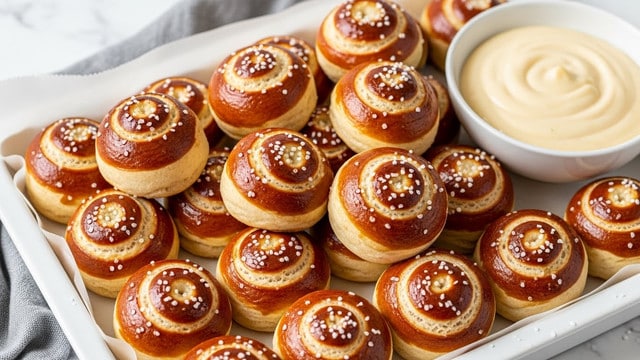
This jelly pairs excellently with a variety of side dishes, turning everyday meals into something special. Think buttery crackers or crusty bread alongside charcuterie boards. It’s also fantastic drizzled over grilled meats, roasted vegetables, or even stirred into cream cheese for a savory appetizer. The versatility makes it a must-have condiment in your kitchen.
Creative Ways to Present
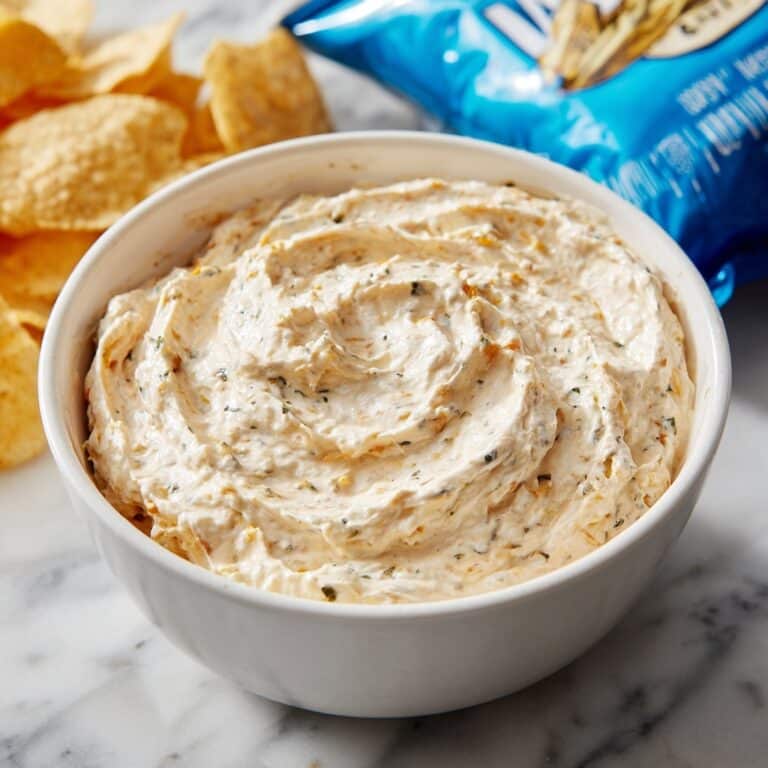
Want to wow your guests? Spoon pepper jelly into little appetizer spoons as a topping for cream cheese or a slice of smoked salmon. Or try glazing roasted chicken or shrimp with a generous layer of this jelly during the last minutes of cooking for a glossy, flavorful finish. Gift jars of homemade pepper jelly wrapped with colorful ribbons for a thoughtful, tasty treat that friends and family will adore.
Make Ahead and Storage
Storing Leftovers
If you have leftovers after opening your jars, simply store them in the refrigerator with the lid tightly sealed. Pepper jelly keeps well chilled for several weeks, during which time the flavors often deepen and become even more delicious.
Freezing
While freezing is an option, it’s not typically necessary thanks to the jelly’s sugar content and canning process. However, if you do freeze it for longer storage, transfer the jelly to an airtight container, leaving room for expansion, and thaw slowly in the refrigerator when ready to use.
Reheating
There’s no need to reheat pepper jelly before enjoying it — it’s perfect straight from the jar. If you’re using it as a glaze or sauce, gently warm it on the stove or microwave just until runny enough to spread or drizzle.
FAQs
Can I use different types of peppers in the Pepper Jelly Recipe?
Absolutely! Feel free to experiment with other peppers like habaneros for more heat or sweet mini bell peppers for a milder flavor and different colors. Just remember to adjust the quantity to maintain a good balance between heat and sweetness.
How long does homemade pepper jelly last once canned?
Properly processed and sealed jars can last up to one year stored in a cool, dark place. Once opened, consume within a few weeks by storing in the refrigerator.
What if I want a spicier pepper jelly recipe?
You can increase the jalapeño quantity or add red pepper flakes during cooking to kick up the heat. Removing fewer seeds also intensifies the spice. Just tweak gradually until you find your preferred level of warmth.
Can I omit the food coloring in this pepper jelly recipe?
Yes! Food coloring is entirely optional, used only to enhance the visual appeal. The natural colors of the peppers will still make your jelly beautiful and tasty without any artificial dyes.
Is this Pepper Jelly Recipe suitable for beginners?
Definitely. The process is straightforward, and the step-by-step instructions guide you through everything clearly. Plus, the simple ingredients and quick cooking time make it a fun and rewarding project, even for first-time jelly makers.
Final Thoughts
There’s something truly magical about making your own pepper jelly—combining fresh ingredients, simmering them into an irresistible sweet-spicy spread, and knowing you’ve created a jar full of pure joy. This Pepper Jelly Recipe is such a gem to have on hand, no matter the occasion. I hope you dive in, give it a try, and discover just how versatile and delicious homemade pepper jelly can be!
PrintPepper Jelly Recipe
This Pepper Jelly recipe combines finely chopped red and green bell peppers with jalapeño for a mild heat, balanced by apple cider vinegar and sugar, then thickened with liquid fruit pectin. Perfect as a tangy, sweet-spicy condiment, it’s ideal for pairing with cheeses, grilled meats, or as a flavorful spread.
- Prep Time: 20 minutes
- Cook Time: 15 minutes
- Total Time: 1 hour active time plus 12-24 hours cooling and setting
- Yield: About 5 half-pint jars 1x
- Category: Condiment, Jelly, Preserves
- Method: Boiling Water Bath Canning
- Cuisine: American, Southern
- Diet: Halal
Ingredients
Essential Ingredients
- 1 cup finely chopped red bell pepper
- 1 cup finely chopped green bell pepper
- ¼ cup finely chopped jalapeño pepper (seeds removed for mild heat)
- 1½ cups apple cider vinegar
- 1 package (3 oz) liquid fruit pectin (such as Certo)
- 5 cups granulated sugar
Optional Add-ins
- 1 tsp red pepper flakes (for added heat)
- ½ tsp salt (to balance flavor)
- A few drops of red or green food coloring (optional for presentation)
Instructions
- Prepare the Peppers: Wash and dry all peppers thoroughly. Remove stems, seeds, and ribs to control the heat and texture. Finely chop the peppers by hand using a sharp knife or pulse briefly in a food processor—be careful not to over-process to keep a nice texture.
- Combine Ingredients in Pot: In a large, heavy-bottomed pot, mix the chopped peppers, apple cider vinegar, and granulated sugar. Stir well and bring the mixture to a full rolling boil over high heat. Boil for 1–2 minutes, stirring constantly to dissolve the sugar and integrate flavors.
- Add Pectin: Stir in the entire package of liquid fruit pectin. Continue boiling the mixture hard for a full minute, ensuring the jelly sets properly.
- Optional Color Boost: If you want a more vibrant presentation, add 1–2 drops of red or green food coloring at this stage. Stir thoroughly until the color is evenly distributed through the jelly.
- Ladle Into Jars: Pour the hot jelly into sterilized half-pint jars, leaving approximately ¼ inch of headspace at the top. Wipe the rims clean to ensure a good seal, place the lids on, and screw the bands on until fingertip tight.
- Process the Jars: Process the filled jars in a boiling water bath for 10 minutes, starting the timer once the water returns to a boil. This step ensures safe preservation and shelf stability.
- Check the Seal: After removing the jars, allow them to cool undisturbed for 12–24 hours. Once cool, press the center of each lid to confirm the seal. If the lid pops back, the jar is not sealed and should be refrigerated and used first.
Notes
- Remove seeds from jalapeños to reduce heat; keep seeds for a spicier jelly.
- Do not over-process peppers; a bit of texture adds to the mouthfeel of the jelly.
- Use sterilized jars and lids to prevent contamination and ensure proper sealing.
- Adjust sugar according to sweetness preference, but keep in mind it contributes to the jelly’s preservation.
- Let the jelly set fully overnight for best texture and flavor.
Nutrition
- Serving Size: 1 tablespoon
- Calories: 60
- Sugar: 15g
- Sodium: 25mg
- Fat: 0g
- Saturated Fat: 0g
- Unsaturated Fat: 0g
- Trans Fat: 0g
- Carbohydrates: 15g
- Fiber: 0.3g
- Protein: 0g
- Cholesterol: 0mg
Keywords: pepper jelly, jelly recipe, homemade jelly, canning recipe, sweet and spicy jelly, bell pepper jelly, jalapeño jelly