No-Bake Chocolate Peanut Butter Pie Recipe
Introduction
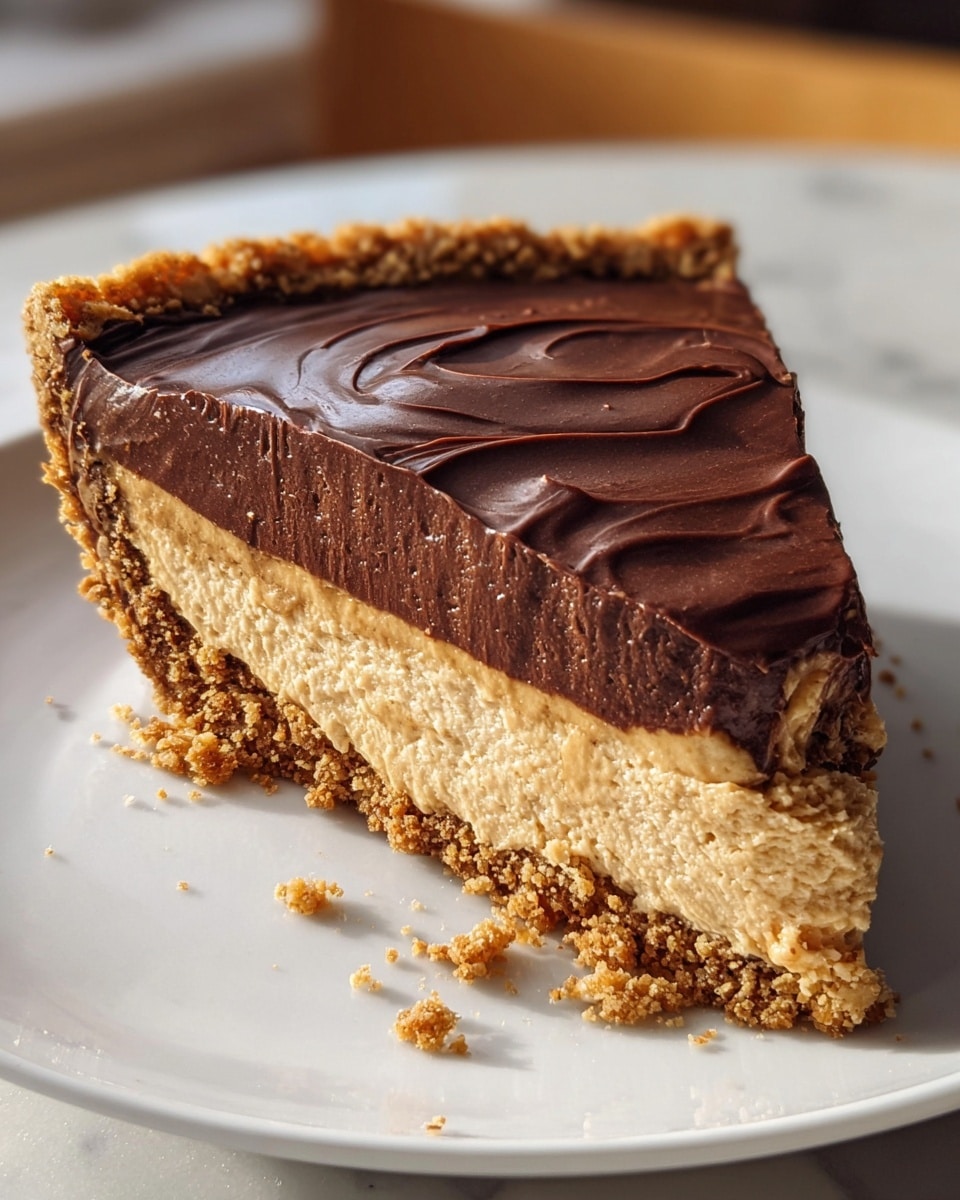
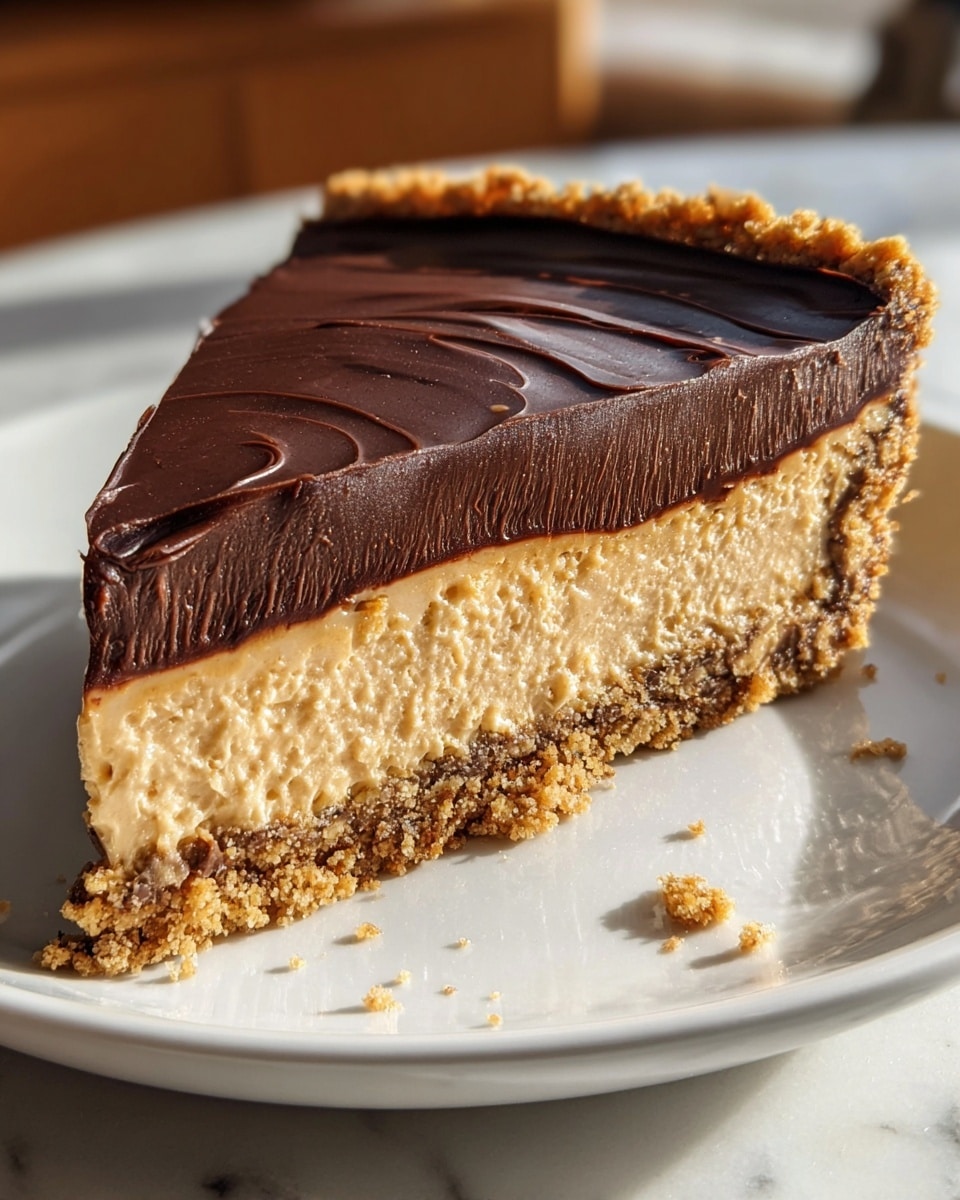
This No-Bake Chocolate Peanut Butter Pie is a creamy and rich dessert that’s perfect for any occasion. With a crunchy graham cracker crust and smooth peanut butter filling topped with chocolate, it’s both easy to make and utterly delicious.
Ingredients
- 1 ½ cups graham cracker crumbs
- ½ cup unsalted butter, melted
- 1 cup creamy peanut butter
- 1 cup powdered sugar
- 1 cup heavy whipping cream
- 1 cup chocolate chips
- 2 tablespoons milk
Instructions
- Step 1: In a bowl, mix the graham cracker crumbs and melted butter until well combined.
- Step 2: Press the mixture firmly into the bottom of a pie pan to form an even crust.
- Step 3: In another bowl, combine the peanut butter and powdered sugar until smooth.
- Step 4: In a separate bowl, whip the heavy cream until stiff peaks form.
- Step 5: Gently fold the whipped cream into the peanut butter mixture until fully incorporated.
- Step 6: Spread the peanut butter filling evenly over the crust.
- Step 7: Melt the chocolate chips with the milk, stirring until smooth, then pour this chocolate topping over the filling.
- Step 8: Chill the pie in the refrigerator for at least 4 hours to allow it to set before serving.
Tips & Variations
- For extra texture, add crushed peanuts to the peanut butter filling.
- Use crunchy peanut butter if you prefer a bit of crunch in the filling.
- Swap the graham cracker crust for an Oreo crust for a chocolate twist.
- Top with whipped cream or chopped peanuts before serving for added garnish.
Storage
Store the pie covered in the refrigerator for up to 3 days. Allow it to sit at room temperature for 10 minutes before serving for the best texture. This pie is not recommended for freezing, as the cream filling may become grainy when thawed.
How to Serve
Serve this delicious recipe with your favorite sides.
FAQs
Can I use natural peanut butter for this pie?
Natural peanut butter tends to be less stable and oilier, which may affect the texture of the filling. It’s best to use creamy, smooth peanut butter for a stable and creamy consistency.
Do I have to chill the pie overnight?
While chilling overnight gives the best results, a minimum of 4 hours is sufficient for the pie to set properly.
PrintNo-Bake Chocolate Peanut Butter Pie Recipe
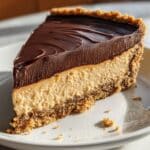
This No-Bake Chocolate Peanut Butter Pie is a rich and creamy dessert featuring a buttery graham cracker crust, smooth peanut butter filling, and a luscious chocolate topping. Perfect for quick preparation without baking, it delivers a delightful combination of sweet and salty flavors that satisfy any sweet tooth.
- Prep Time: 20 minutes
- Cook Time: 0 minutes
- Total Time: 4 hours 20 minutes (includes chilling time)
- Yield: 8 servings 1x
- Category: Dessert
- Method: No-Cook
- Cuisine: American
Ingredients
Crust
- 1 ½ cups graham cracker crumbs
- ½ cup unsalted butter, melted
Filling
- 1 cup creamy peanut butter
- 1 cup powdered sugar
- 1 cup heavy whipping cream
Topping
- 1 cup chocolate chips
- 2 tablespoons milk
Instructions
- Prepare the crust: In a bowl, mix graham cracker crumbs with melted butter until well combined. Press this mixture firmly into the bottom and sides of a pie pan to create an even crust layer.
- Mix the peanut butter filling: In a separate bowl, combine creamy peanut butter and powdered sugar until smooth and creamy.
- Whip the cream: In another clean bowl, whip the heavy cream using a mixer until stiff peaks form, indicating it holds shape well.
- Combine filling and whipped cream: Gently fold the whipped cream into the peanut butter mixture, maintaining the airy texture for a light filling.
- Assemble the pie: Spread the peanut butter filling evenly over the prepared graham cracker crust, smoothing the top.
- Make the chocolate topping: Melt the chocolate chips together with milk in a microwave-safe bowl or over a double boiler until smooth, then pour and spread the chocolate mixture over the peanut butter layer.
- Chill the pie: Refrigerate the pie for at least 4 hours, or until fully set before serving to allow the flavors to meld and the filling to firm up.
Notes
- For a crunchier crust, you can toast the graham cracker crumbs lightly before mixing with butter.
- If you prefer a less sweet pie, reduce the powdered sugar slightly in the filling.
- Use creamy peanut butter for a smooth filling; natural peanut butter may affect texture.
- The chocolate topping can be substituted with melted dark chocolate or a chocolate ganache for richer flavor.
- This pie should be stored in the refrigerator and consumed within 3 days for best freshness.
Keywords: No-Bake Pie,Chocolate Peanut Butter Pie,Easy Dessert,Peanut Butter Pie,No-Bake Dessert