Homemade No-Bake Twix Cheesecake Recipe
Introduction
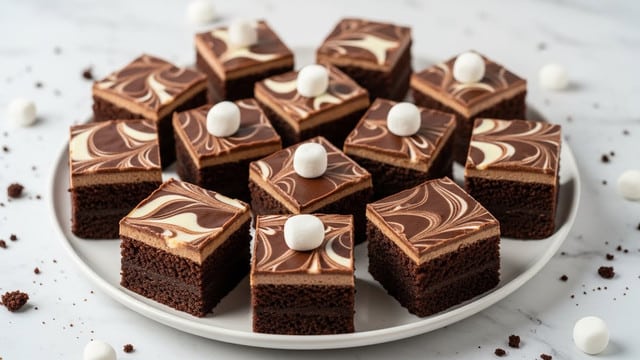
Indulge yourself with this Homemade No-Bake Twix Cheesecake, a delightful treat combining rich chocolate, creamy cheesecake, and luscious caramel. Perfect for when you want an impressive dessert without turning on the oven.
Ingredients
- 1 cup Graham Cracker Crumbs (Use gluten-free graham crackers for a gluten-free option)
- 1/2 cup Melted Butter
- 1 cup Chocolate Chips (Use semi-sweet or dark chocolate for a more intense flavor)
- 1/2 cup Heavy Cream
- 16 oz Cream Cheese (Ensure it’s softened for a velvety texture)
- 1/2 cup Powdered Sugar
- 1 tsp Vanilla Extract
- 1 cup Whipped Cream (Use dairy-free options for a vegan version)
- 1/2 cup Caramel Sauce (Use homemade or store-bought)
- Optional Chocolate Drizzle (Adds an elegant touch for visual appeal)
- 2 tbsp Optional Heavy Cream (for drizzle) (Used to thin the chocolate for drizzling)
Instructions
- Step 1: Make the crust by combining graham cracker crumbs and melted butter in a mixing bowl. Mix until the texture resembles wet sand. Press the mixture firmly into the bottom of a springform pan and refrigerate for 10 minutes to set.
- Step 2: Prepare the chocolate layer by combining chocolate chips and heavy cream in a microwave-safe bowl. Heat in 20-second intervals, stirring until smooth and glossy. Pour the chocolate over the chilled crust and spread evenly. Refrigerate for 15-20 minutes until firm.
- Step 3: Make the cheesecake filling by beating softened cream cheese, powdered sugar, and vanilla extract together until smooth and creamy. Gently fold in whipped cream to achieve a light and airy texture.
- Step 4: Assemble the layers by spooning the cheesecake filling evenly over the chocolate layer. Spread gently, then drizzle the caramel sauce on top, smoothing it with a spatula for an even finish.
- Step 5: For the final touch, melt additional chocolate chips with a splash of heavy cream to thin for the drizzle. Pour this over the caramel layer to create a beautiful topping. Refrigerate the cheesecake for at least 4 hours or until fully set.
Tips & Variations
- Use gluten-free graham crackers or dairy-free cream options to adapt this recipe for dietary needs.
- For a richer chocolate flavor, substitute dark chocolate chips in the chocolate layer and drizzle.
- Homemade caramel sauce adds a personal touch and can be adjusted for sweetness.
- Chilling the crust and chocolate layer well ensures clean, defined layers when assembling.
Storage
Store the cheesecake covered in the refrigerator for up to 3 days. To reheat slightly before serving, let it sit at room temperature for 15 minutes to soften but avoid microwaving as it may affect texture.
How to Serve
Serve this delicious recipe with your favorite sides.
FAQs
Can I make this cheesecake vegan?
Yes, use dairy-free cream cheese, whipped cream, and caramel sauce substitutes along with vegan chocolate chips to make a vegan-friendly version.
Do I need a springform pan?
A springform pan is ideal because it allows easy removal of the cheesecake without damaging the layers, but you can also use a regular pan lined with parchment paper for easier lifting.
PrintHomemade No-Bake Twix Cheesecake Recipe
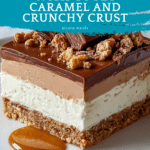
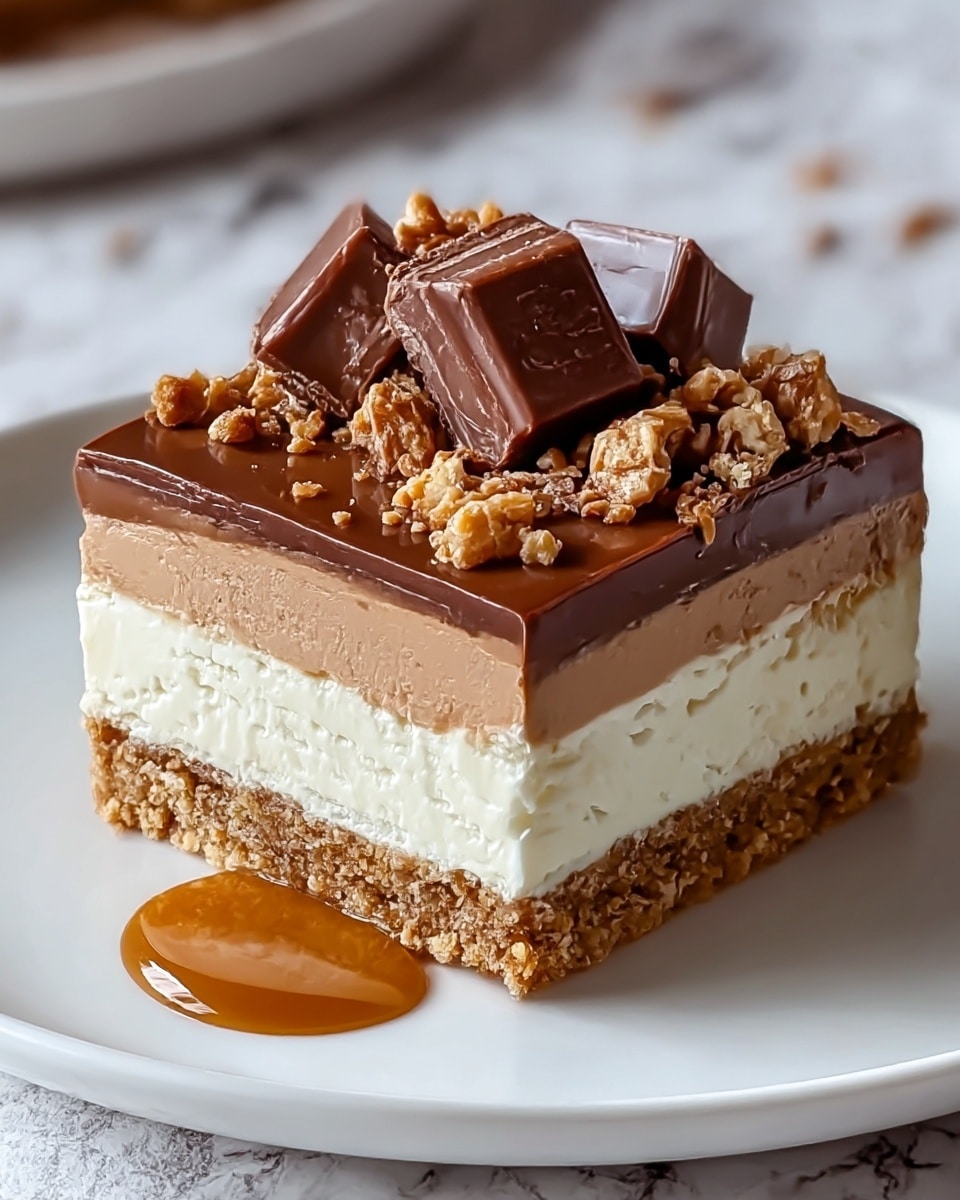
This Homemade No-Bake Twix Cheesecake combines a crisp graham cracker crust with a rich chocolate layer, creamy cheesecake filling, and a luscious caramel topping, all without the need for baking. Perfect for indulgent dessert lovers seeking a smooth, velvety treat with the iconic Twix flavors.
- Prep Time: 20 minutes
- Cook Time: 0 minutes
- Total Time: 4 hours 20 minutes
- Yield: 8 servings 1x
- Category: Dessert
- Method: No-Cook
- Cuisine: American
- Diet: Gluten Free
Ingredients
Crust
- 1 cup Graham Cracker Crumbs (Use gluten-free graham crackers for a gluten-free option.)
- 1/2 cup Melted Butter
Chocolate Layer
- 1 cup Chocolate Chips (semi-sweet or dark chocolate preferred)
- 1/2 cup Heavy Cream
Cheesecake Filling
- 16 oz Cream Cheese (softened)
- 1/2 cup Powdered Sugar
- 1 tsp Vanilla Extract
- 1 cup Whipped Cream (dairy-free option for vegan)
Toppings
- 1/2 cup Caramel Sauce (homemade or store-bought)
- Optional Chocolate Drizzle: 2 tbsp Additional Chocolate Chips
- 2 tbsp Optional Heavy Cream (for drizzle)
Instructions
- Make the Crust: In a mixing bowl, combine graham cracker crumbs and melted butter. Stir until the mixture resembles wet sand. Press firmly into the bottom of a springform pan and refrigerate for 10 minutes to set.
- Prepare the Chocolate Layer: In a microwave-safe bowl, combine chocolate chips and heavy cream. Heat in 20-second intervals, stirring after each until the mixture is smooth and glossy. Pour evenly over the chilled crust and refrigerate for 15-20 minutes until firm.
- Make the Cheesecake Filling: In a large bowl, beat softened cream cheese, powdered sugar, and vanilla extract together until smooth and creamy. Gently fold in whipped cream to achieve a light, airy texture.
- Assemble the Layers: Spoon the cheesecake filling evenly over the chilled chocolate layer, spreading gently with a spatula. Drizzle caramel sauce on top and smooth it out evenly.
- Final Touch: Melt additional chocolate chips with a splash of heavy cream in the microwave until smooth. Drizzle this chocolate over the caramel layer for a decorative finish. Refrigerate the cheesecake for at least 4 hours or until fully set, allowing the layers to meld perfectly.
Notes
- Use gluten-free graham crackers to make this dessert gluten-free.
- For a vegan version, choose dairy-free whipped cream and caramel sauce.
- Ensure cream cheese is softened to avoid lumps in the filling.
- Be gentle when folding whipped cream to keep the filling light and airy.
- The cheesecake must chill for at least 4 hours to properly set all layers.
Keywords: No-Bake Cheesecake, Twix Cheesecake, Chocolate Caramel Cheesecake, Easy Cheesecake Recipe, Gluten-Free Dessert