Easiest Ever No Knead Sourdough Bread Recipe
Introduction
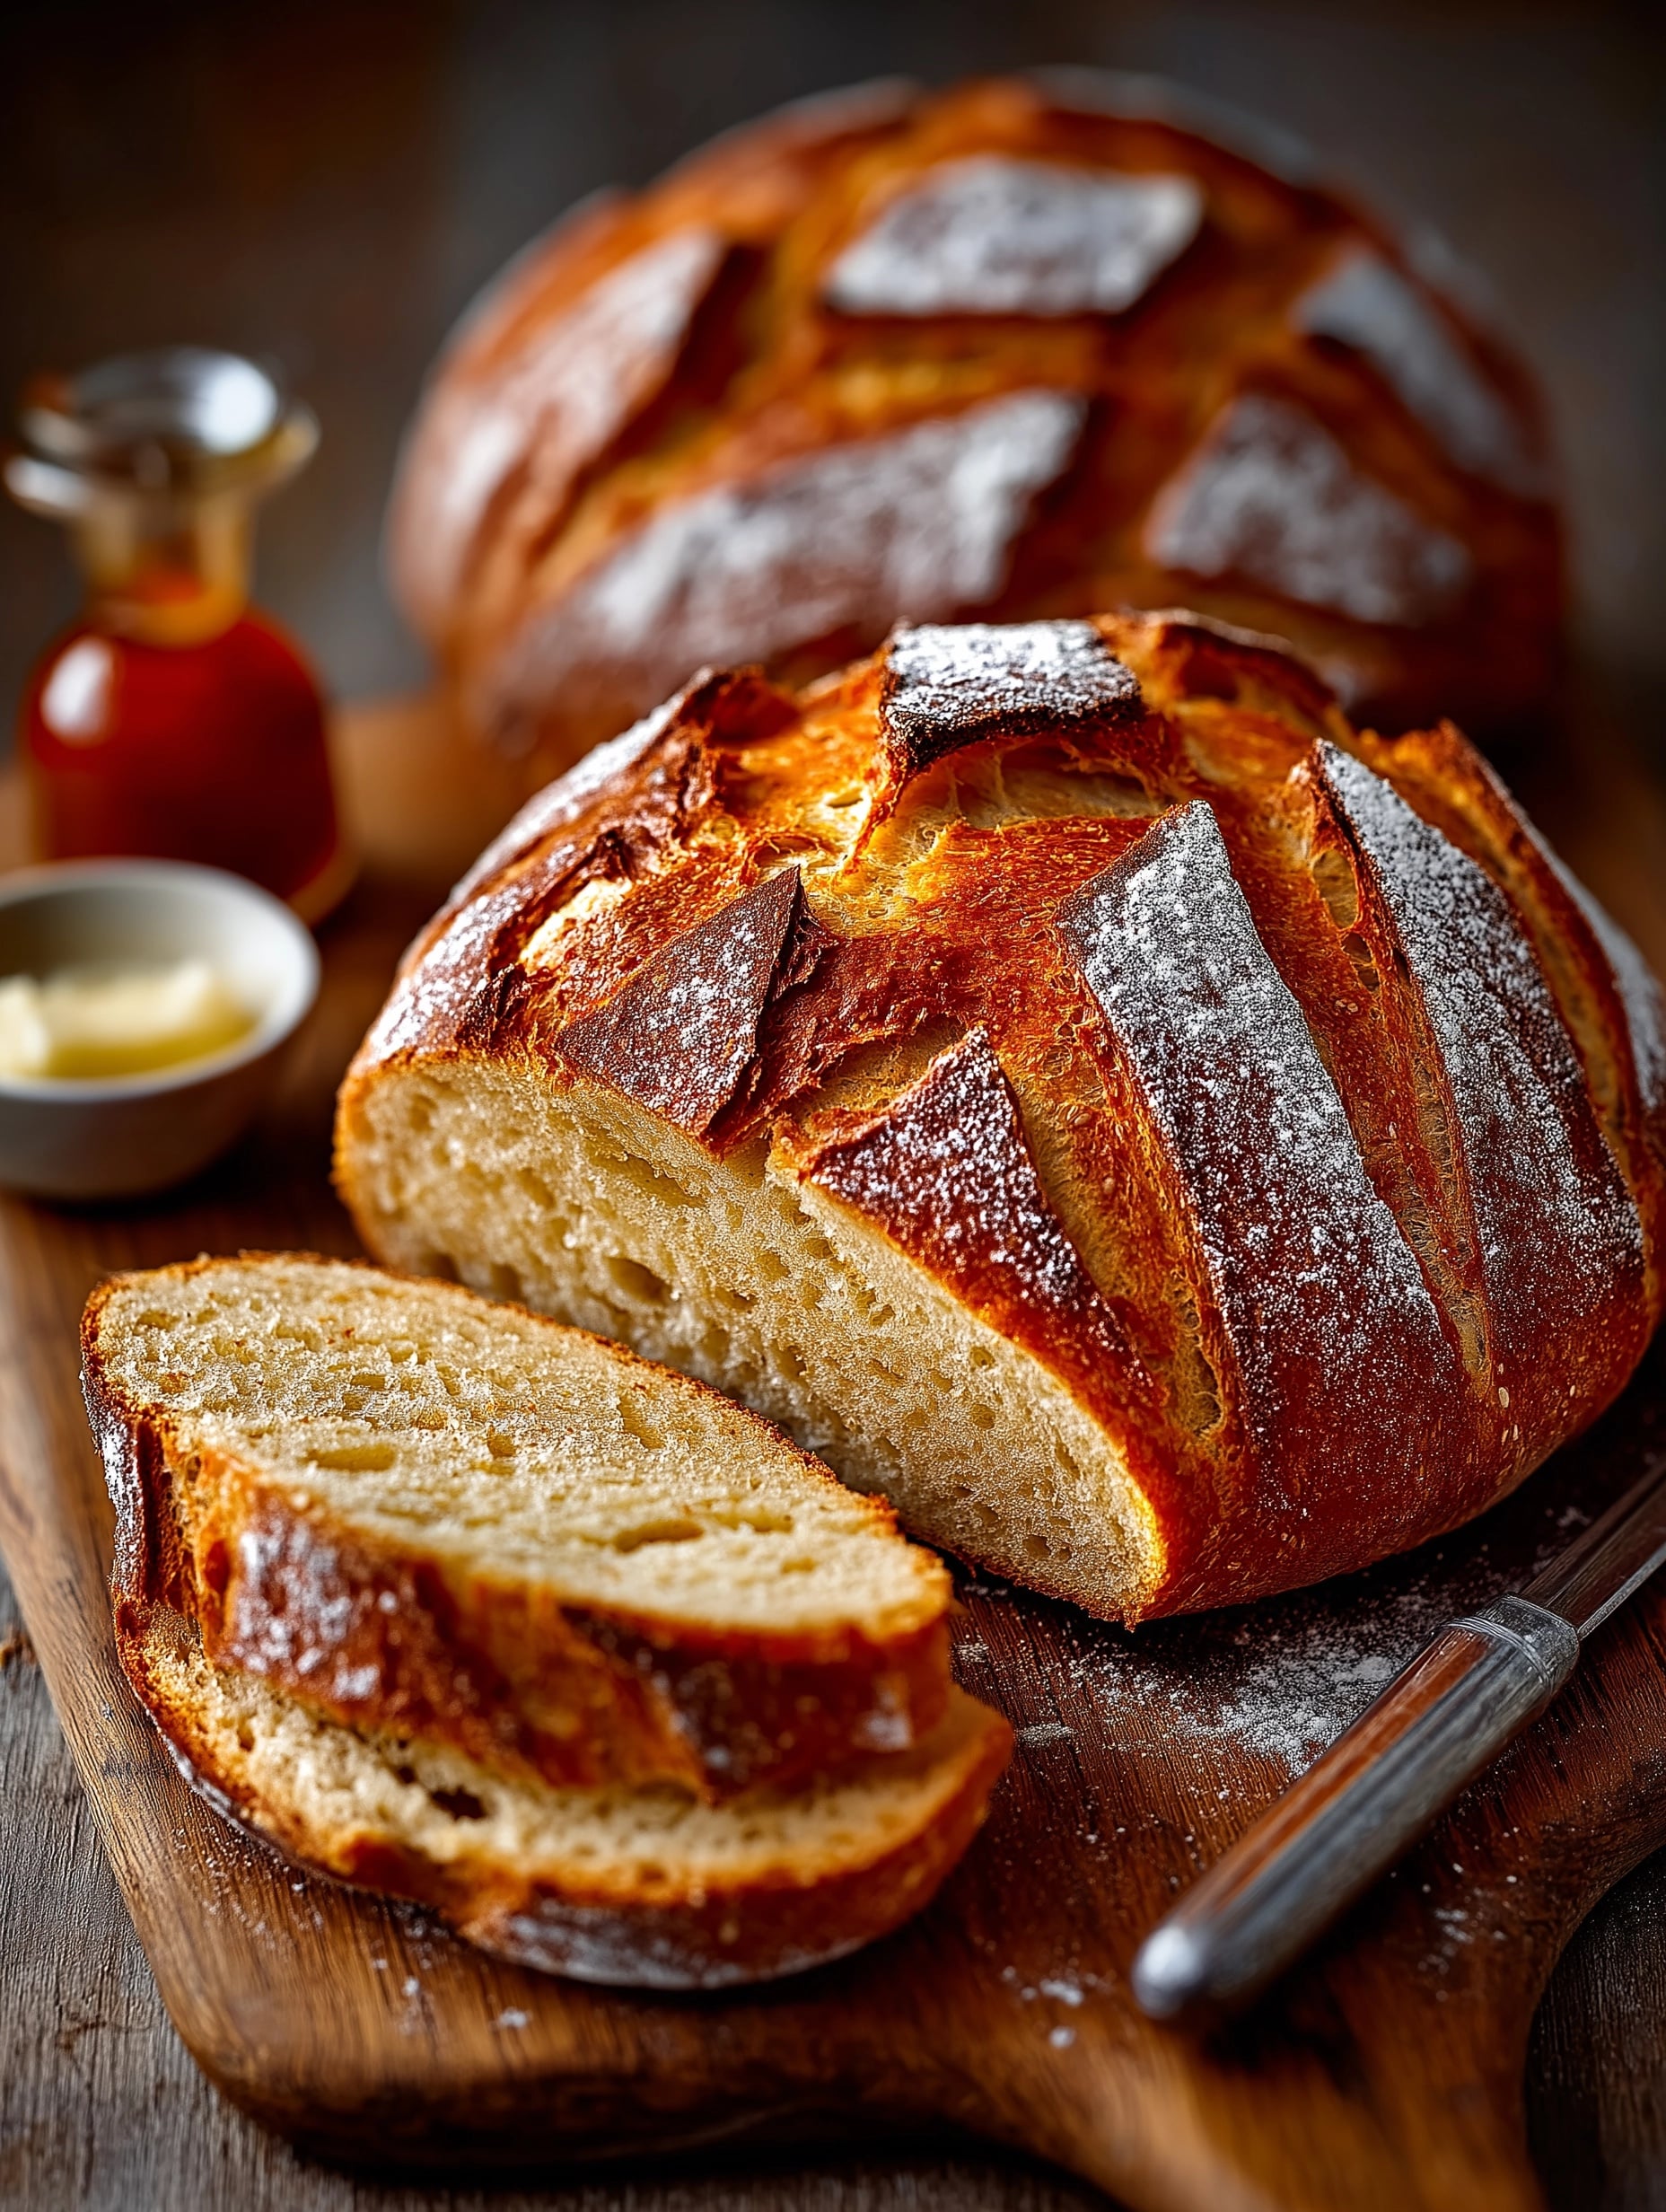
This easiest ever no knead sourdough bread recipe is perfect for beginners and busy home bakers alike. With simple steps and minimal effort, you’ll enjoy a beautiful, crusty loaf with a soft, flavorful crumb. Let’s get baking!
Ingredients
- 25 grams mature starter
- 75 grams unbleached bread flour (or all-purpose flour)
- 75 grams water (90°F)
- 100 grams ripe starter (heaping ⅓ cup)
- 300 grams filtered water (90°F) (1¼ cups + 1 tablespoon)
- 500 grams white bread flour (or unbleached all-purpose flour) (3½ cups + ½ teaspoon)
- 10 grams sea salt (2⅛ teaspoons)
Instructions
- Step 1: The evening before, combine 25 grams starter with 75 grams flour and 75 grams warm water (90°F) in a clean mason jar. Mix well until no dry flour remains. Cover loosely with plastic wrap and let rest at room temperature for 8-12 hours. By morning, your starter should be doubled in size and full of bubbles.
- Step 2: The next morning, combine 100 grams ripe starter with 300 grams warm water in a large mixing bowl. Stir with a spoon until the starter is fully dispersed. Add 500 grams bread flour and 10 grams sea salt. Mix until a shaggy dough forms, then use your hands to form into a sticky ball. The dough will be sticky and rough-looking—this is perfect!
- Step 3: Cover the bowl with plastic wrap and place in the oven with only the light on. Let rise for 5-6 hours until noticeably puffy and doubled in size. When gently poked, your finger should leave an indent that slowly fills back in.
- Step 4: Dust your counter lightly with flour. Turn the dough onto the counter, smooth side down. Starting with the top edge, gently pull the dough away, then fold to center. Repeat with the bottom edge, left side, and right side. Pinch to seal, then repeat the folds once more. Flip seam-side down and use cupped hands to rotate and pull dough until you have a tight, smooth ball. The surface should feel taut but still soft and pillowy.
- Step 5: Dust a bread basket well with flour. Place dough seam-side up in the basket. Dust lightly with flour to prevent sticking, then cover with plastic wrap. Return to the oven with the light on for 2-3 hours until doubled. When gently pressed, the dough should feel light and airy, holding the indentation from your finger.
- Step 6: Remove the dough from the oven and preheat the oven to 450°F. Place a sheet of parchment paper on the counter and gently turn the dough onto it (seam side down). Score the top ½-inch deep lengthwise with a sharp knife or bread lame. The cut should be decisive and deep enough to see the pale dough beneath.
- Step 7: Using the parchment corners, lift the dough into the Dutch oven. Cover with the lid and reduce the temperature to 425°F. Bake, covered, for 40 minutes, then remove the lid and bake for an additional 5-10 minutes until golden brown. The crust should be dark golden and sound hollow when tapped.
- Step 8: Remove from the oven using the parchment corners and place on a cooling rack. Let the bread cool completely for at least 2 hours before slicing. The internal temperature should reach 190-205°F. When properly cooled, the crust will be crisp and the inside set. Enjoy your fresh sourdough!
Tips & Variations
- Use filtered water to avoid chlorine, which can inhibit fermentation.
- If you don’t have a bread basket, line a bowl with a well-floured kitchen towel to proof the dough.
- For a more sour flavor, let the dough rise longer or refrigerate it overnight during the final proof.
- Try adding herbs or olives into the dough during mixing for added flavor.
Storage
Store your sourdough bread at room temperature wrapped loosely in a paper bag or bread box for up to 3 days. For longer storage, slice and freeze the bread in an airtight bag for up to 3 months. To reheat, toast slices or warm whole loaf wrapped in foil at 350°F for 10-15 minutes.
How to Serve
Serve this delicious recipe with your favorite sides.
FAQs
Can I use all-purpose flour instead of bread flour?
Yes, all-purpose flour works well in this recipe and will still produce a lovely loaf, though the texture might be slightly less chewy than bread flour.
Do I have to use a Dutch oven to bake the bread?
The Dutch oven helps create steam for a crisp crust, but if you don’t have one, you can bake the loaf on a baking stone or sheet and place a tray of water in the oven to generate steam.
PrintEasiest Ever No Knead Sourdough Bread Recipe
This Easiest Ever No Knead Sourdough Bread recipe delivers a wonderfully rustic, crusty loaf with minimal hands-on time. Using a mature sourdough starter and simple ingredients, the dough undergoes a long rise and proof cycle for rich flavor development and texture. Baked in a covered Dutch oven, this bread has a crisp, golden crust with a soft, pillowy interior—perfect for artisan-style homemade bread lovers.
- Prep Time: 12 hours (includes starter feeding and rise times)
- Cook Time: 50 minutes
- Total Time: 13 hours
- Yield: 1 medium loaf (about 1.5 pounds) 1x
- Category: Bread
- Method: Baking
- Cuisine: American Artisan
- Diet: Vegetarian
Ingredients
Starter Feed
- 25 grams mature starter
- 75 grams unbleached bread flour (or all-purpose flour)
- 75 grams water (90°F)
Dough
- 100 grams ripe starter (heaping ⅓ cup)
- 300 grams filtered water (90°F) (1¼ cups + 1 tablespoon)
- 500 grams white bread flour (or unbleached all-purpose flour) (3½ cups + ½ teaspoon)
- 10 grams sea salt (2⅛ teaspoons)
Instructions
- Feed: The evening before baking, combine 25 grams mature starter with 75 grams flour and 75 grams warm water (90°F) in a clean mason jar. Mix thoroughly until no dry flour remains. Cover loosely with plastic wrap and let rest at room temperature for 8-12 hours until doubled in size and bubbly by morning.
- Mix: The next morning, in a large bowl, mix 100 grams ripe starter with 300 grams warm water until fully combined. Add 500 grams bread flour and 10 grams sea salt. Stir until a shaggy dough forms, then use your hands to bring it into a sticky ball. The dough should be sticky and rough-looking, which is perfect.
- Rise: Cover the bowl with plastic wrap and place it in the oven with the light on to maintain warmth. Let the dough rise for 5-6 hours until it is visibly puffy and has roughly doubled in size. A gentle poke should leave an indent that slowly fills back in.
- Shape: Lightly flour your counter and turn the dough onto it, smooth side down. Perform a series of folds: gently pull the dough from the top edge and fold it to the center. Repeat with the bottom, left, and right edges, pinching to seal. Repeat these folds once more. Flip the dough seam-side down and use cupped hands to rotate and pull it into a tight, smooth ball. The surface should feel taut but soft.
- Proof: Dust a bread basket well with flour and place the shaped dough seam-side up inside. Lightly dust the dough with flour to prevent sticking and cover with plastic wrap. Return to the oven with light on for 2-3 hours until the dough doubles in size again. When pressed gently, the dough should feel light, airy, and hold the indentation.
- Prepare: Remove the dough from the oven and preheat your oven to 450°F. Do not preheat the Dutch oven. Place a sheet of parchment paper on the counter and turn the dough onto it seam-side down. Use a sharp knife or bread lame to make a ½-inch deep lengthwise score on top of the dough for expansion during baking.
- Bake: Lift the dough using the parchment paper into the Dutch oven and cover it with the lid. Reduce oven temperature to 425°F and bake covered for 40 minutes. Then remove the lid and bake uncovered for an additional 5-10 minutes until the crust is dark golden and sounds hollow when tapped.
- Cool: Remove the bread from the Dutch oven using the parchment paper and place on a cooling rack. Allow the bread to cool completely for at least 2 hours before slicing. The internal temperature should reach 190-205°F. Proper cooling ensures a crisp crust and fully set crumb. Enjoy your homemade sourdough!
Notes
- This no knead method requires patience due to long fermentation but results in excellent flavor and texture.
- Using a Dutch oven traps steam to create a crisp crust similar to bakery breads.
- If you don’t have a bread basket, line a bowl with a well-floured kitchen towel.
- Make sure to score the dough to avoid cracking during oven spring.
- Allowing the bread to cool fully is essential to set the crumb and develop flavor.
- Use filtered water and unbleached flour for best results.
- The oven light creates a warm environment optimal for proofing dough.
Keywords: no knead sourdough bread, sourdough recipe, easy artisan bread, homemade bread, no knead bread