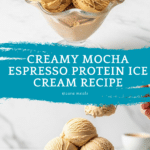
Ninja Creami Mocha Espresso Protein Ice Cream Recipe
Introduction
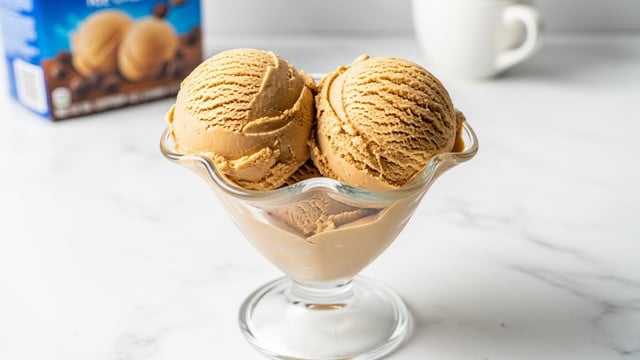
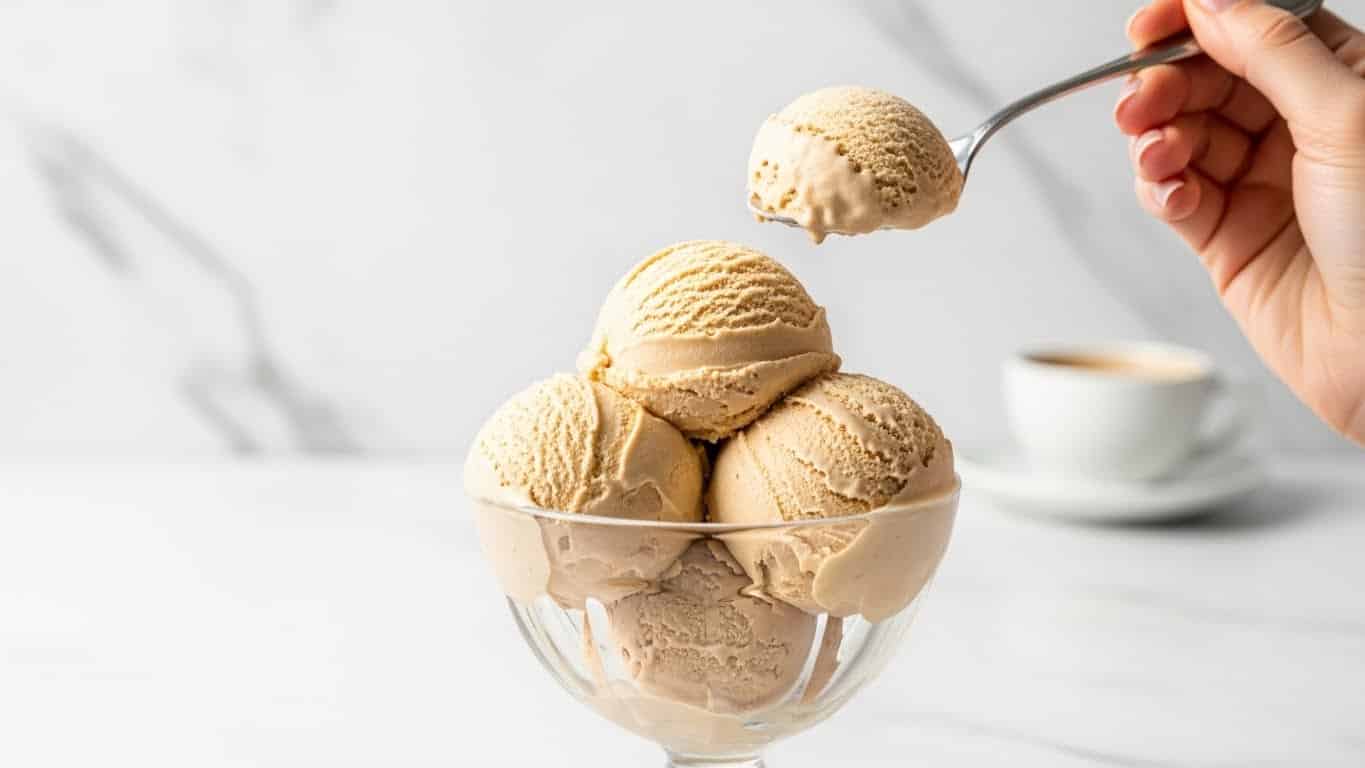
This Ninja Creami Mocha Espresso Protein Ice Cream is a deliciously creamy treat that combines rich chocolate and bold espresso flavors. It’s a perfect post-workout snack or a guilt-free dessert for coffee lovers seeking a protein boost.
Ingredients
- 1 scoop chocolate protein powder
- 1 spoonful cocoa powder
- 1/2 cup chilled espresso or strong coffee
- 1 cup milk of choice (dairy or non-dairy)
- Optional: mini chocolate chips or nut butter for mix-ins
Instructions
- Step 1: Add the protein powder, cocoa powder, chilled espresso, and milk to a Ninja Creami pint.
- Step 2: Whisk or blend the mixture until smooth, making sure there are no lumps.
- Step 3: Freeze the pint overnight, or for at least 8 hours, until the mixture is solid.
- Step 4: Process the frozen pint in the Ninja Creami using the ‘Lite Ice Cream’ or ‘Ice Cream’ setting.
- Step 5: If the texture is too dry, run the pint through the creamier setting again.
- Step 6: Add mini chocolate chips or nut butter if desired, and use the ‘mix-in’ feature to combine.
- Step 7: Scoop the ice cream into bowls or cones, serve, and enjoy your protein-packed mocha treat!
Tips & Variations
- Use almond or oat milk for a dairy-free option that adds a subtle nutty flavor.
- Try swapping chocolate protein powder for vanilla to create a mocha vanilla twist.
- Add a pinch of cinnamon or a splash of vanilla extract to deepen the flavor complexity.
- For extra texture, fold in chopped nuts or dark chocolate chunks after mixing.
Storage
Store leftover ice cream in an airtight container in the freezer for up to 1 week. To maintain a creamy texture, let it sit at room temperature for a few minutes before scooping or briefly process again in the Ninja Creami before serving.
How to Serve
Serve this delicious recipe with your favorite sides.
FAQs
Can I use regular coffee instead of espresso?
Yes, strong brewed coffee works well as a substitute if you don’t have espresso. Just make sure it is chilled before mixing.
What if I don’t have a Ninja Creami machine?
This recipe is designed for the Ninja Creami for the best creamy texture, but you can try freezing the mixture in a shallow container and stirring every 30 minutes until frozen to mimic the effect.
PrintNinja Creami Mocha Espresso Protein Ice Cream Recipe
This Ninja Creami Mocha Espresso Protein Ice Cream combines the rich flavors of chocolate and espresso with a boost of protein, creating a creamy, satisfying frozen treat perfect for a post-workout snack or a delicious dessert. Made with simple ingredients and customizable mix-ins, it offers a healthy, indulgent alternative to traditional ice cream.
- Prep Time: 10 minutes
- Cook Time: 0 minutes
- Total Time: 8 hours 10 minutes
- Yield: 1 pint (about 4 servings) 1x
- Category: Dessert
- Method: Blending
- Cuisine: American
- Diet: Low Fat
Ingredients
Main Ingredients
- 1 scoop chocolate protein powder
- 1 spoonful cocoa powder
- 1/2 cup chilled espresso or strong coffee
- 1 cup milk of choice (dairy or non-dairy)
Optional Mix-Ins
- Mini chocolate chips
- Nut butter
Instructions
- Combine Ingredients: Add the chocolate protein powder, cocoa powder, chilled espresso, and milk of choice to a Ninja Creami pint container. This forms the base mixture for your mocha espresso protein ice cream.
- Mix Until Smooth: Whisk or blend the ingredients thoroughly until the mixture is smooth and free of any lumps, ensuring an even texture when frozen.
- Freeze: Place the pint in the freezer and freeze overnight or for at least 8 hours until the mixture is completely solidified.
- Create Ice Cream: Once frozen, run the pint through the Ninja Creami using the ‘Lite Ice Cream’ or ‘Ice Cream’ setting to churn it into creamy ice cream.
- Adjust Texture: If the ice cream texture is too dry or crumbly, re-spin the pint using the same setting to improve creaminess.
- Add Mix-Ins: Incorporate optional mix-ins such as mini chocolate chips or nut butter by adding them to the pint and running the Ninja Creami’s ‘mix-in’ feature to evenly distribute.
- Serve: Scoop the mocha espresso protein ice cream into bowls or cones, serve immediately, and enjoy your protein-packed frozen treat.
Notes
- Use chilled espresso or coffee to help ensure the mixture freezes properly without melting the ice cream base prematurely.
- If you prefer a dairy-free option, use plant-based milk alternatives like almond, oat, or coconut milk.
- For a stronger mocha flavor, adjust the amount of cocoa powder or espresso according to taste.
- Ensure the protein powder is smooth and blends well to avoid gritty texture.
- You can store the ice cream pint frozen for up to 1 week for best flavor and texture.
- Feel free to experiment with other mix-ins like nuts, dried fruit, or chocolate shavings for variety.
Keywords: mocha protein ice cream, espresso ice cream, protein ice cream, Ninja Creami recipe, healthy ice cream, chocolate protein dessert