Cranberry Mousse Pie Recipe
Introduction
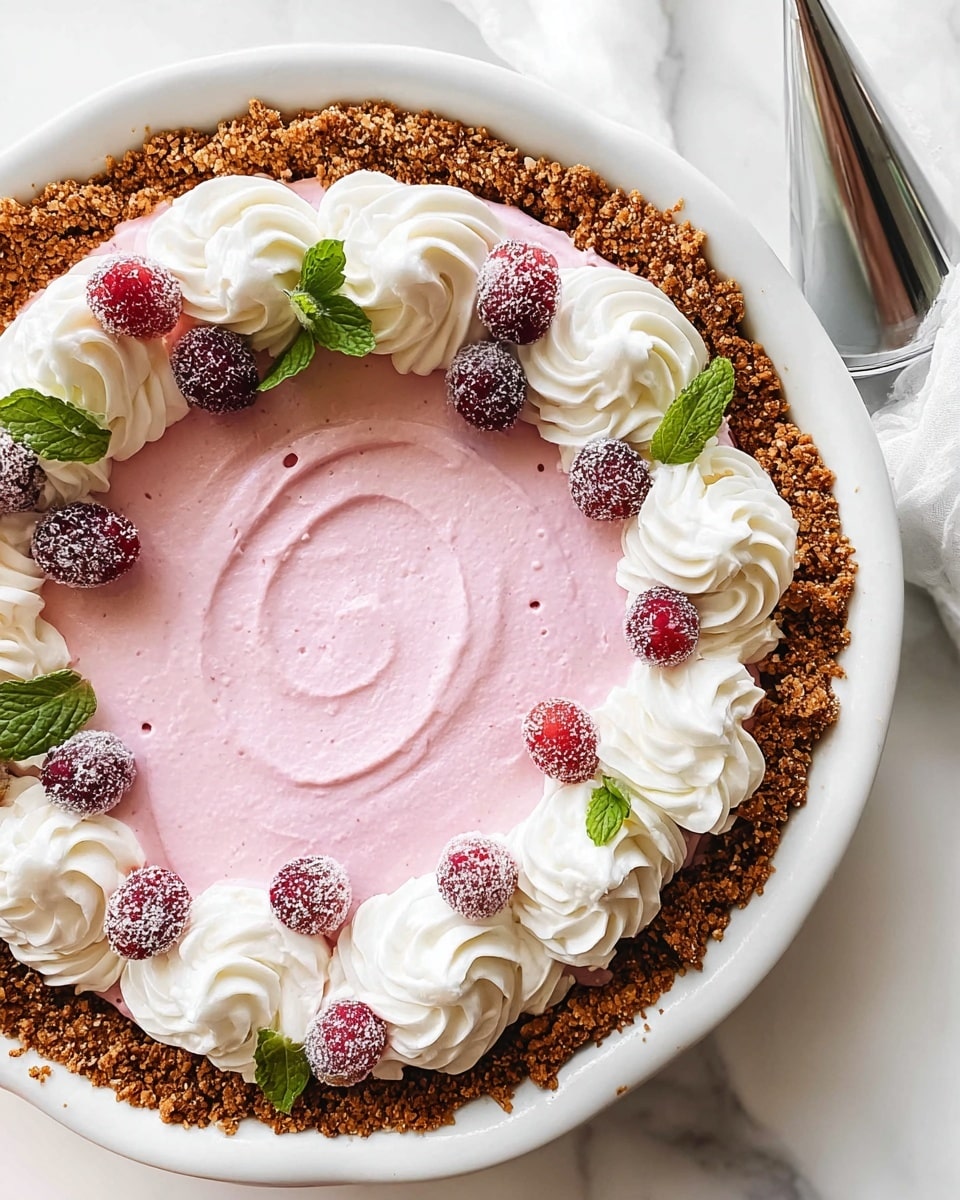
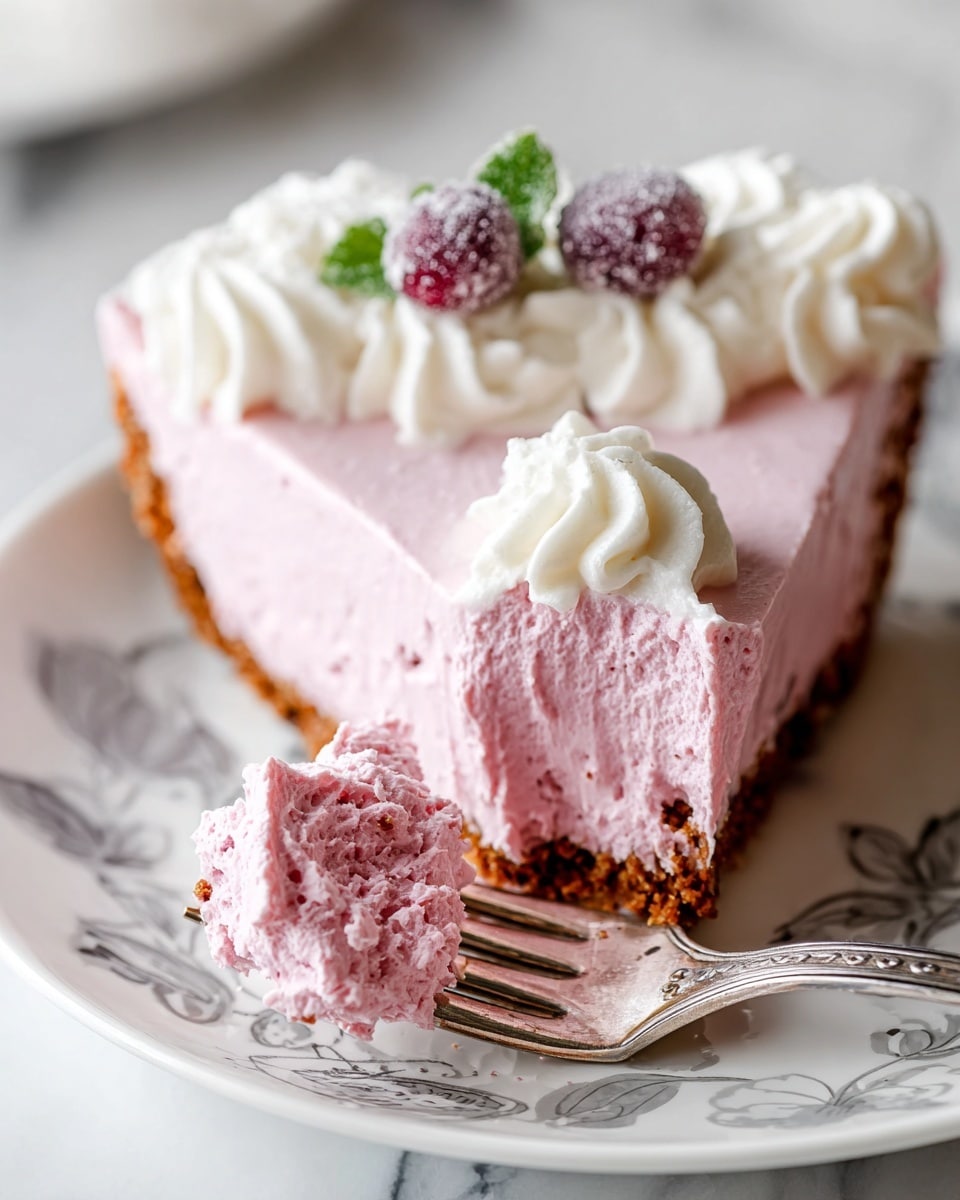
This Cranberry Mousse Pie is a delightful blend of tart cranberries and creamy sweetness, all nestled in a spiced gingersnap crust. It’s a perfect dessert for the holidays or any time you crave a refreshing, fruity treat with a smooth texture.
Ingredients
- 12 ounce bag of fresh or frozen cranberries
- 1/3 cup sugar
- 2 Tbsp water
- 8 ounces brick-style cream cheese
- 1 Tbsp vanilla paste
- 8 ounce tub Cool Whip Extra Creamy Whipped Topping, thawed overnight in the refrigerator
- 2 cups gingersnap crumbs
- 5 Tbsp melted butter
- Whipped topping or sweetened whipped cream, for garnish
- Sugared cranberries*, for garnish (optional)
- Mint leaves, for garnish (optional)
Instructions
- Step 1: Butter a 10-inch pie plate to prepare for the crust.
- Step 2: Combine cranberries, sugar, and water in a medium saucepan. Bring to a boil, stirring often to dissolve the sugar. Reduce heat and simmer for about 15 minutes, stirring frequently to prevent scorching, until thickened. Remove from heat.
- Step 3: Transfer the hot cranberry mixture to a high-speed blender, food processor, or use an immersion blender to puree until smooth. Chill the puree in the refrigerator or freezer to cool.
- Step 4: Meanwhile, mix gingersnap crumbs with melted butter. Press the mixture firmly into the bottom of the prepared pie plate using the bottom of a measuring cup for even compression. Refrigerate while you continue.
- Step 5: Once the cranberry puree is cool, blend it with cream cheese and vanilla paste in a food processor or mixer until smooth and lump-free. Using a food processor allows you to blend even with cold cream cheese; soften first if using a mixer or beaters.
- Step 6: Fold the whipped topping gently into the cranberry mixture until no streaks remain, creating a smooth mousse.
- Step 7: Spoon the cranberry mousse into the prepared gingersnap crust, spreading gently with an offset spatula for an even layer.
- Step 8: Chill the pie for several hours or overnight to allow it to set and become sliceable.
- Step 9: Before serving, garnish with additional whipped topping or whipped cream, sugared cranberries, and mint leaves if desired.
Tips & Variations
- Use thawed frozen cranberries if fresh are unavailable; they work just as well.
- Add a pinch of cinnamon or ginger to the cranberry mixture for a warm spice note.
- The gingersnap crust can be swapped for graham cracker crumbs if preferred.
- If you don’t have vanilla paste, substitute with 1 teaspoon of vanilla extract.
- For a more tart mousse, reduce the sugar slightly or increase for more sweetness depending on your taste.
Storage
Store the pie covered in the refrigerator for up to 3 days. The mousse will soften slightly over time but will remain delicious. For best texture, enjoy chilled. If needed, let the pie sit at room temperature for about 10 minutes before slicing to make cutting easier.
How to Serve
Serve this delicious recipe with your favorite sides.
FAQs
Can I use frozen cranberries instead of fresh?
Yes, frozen cranberries work beautifully in this recipe. Just thaw them slightly before cooking to help them break down easier.
Can I make this pie ahead of time?
Absolutely! This pie tastes great when made a day in advance. Simply keep it refrigerated and add garnishes just before serving for the freshest presentation.
PrintCranberry Mousse Pie Recipe

This Cranberry Mousse Pie is a festive and refreshing dessert featuring a luscious cranberry mousse made from fresh or frozen cranberries, smooth cream cheese, and fluffy whipped topping, all nestled in a buttery gingersnap crust. Perfect for holiday gatherings or any special occasion, this pie combines tart and sweet flavors with a light, creamy texture.
- Prep Time: 15 minutes
- Cook Time: 15 minutes
- Total Time: 4 hours (including chilling time)
- Yield: 8 servings 1x
- Category: Dessert
- Method: Stovetop
- Cuisine: American
- Diet: Vegetarian
Ingredients
Cranberry Mousse
- 12 ounce bag of fresh or frozen cranberries
- 1/3 cup sugar
- 2 Tbsp water
- 8 ounces brick style cream cheese
- 1 Tbsp vanilla paste
- 8 ounce tub Cool Whip Extra Creamy Whipped Topping, thawed overnight in the refrigerator
Crust
- 2 cups gingersnap crumbs
- 5 Tbsp melted butter
Garnish
- Whipped topping or sweetened whipped cream
- Sugared cranberries (optional)
- Mint leaves (optional)
Instructions
- Prepare the pie plate: Butter a 10 inch pie plate thoroughly to prevent sticking and to add richness to the crust base.
- Cook the cranberries: In a medium saucepan, combine cranberries, sugar, and water. Bring to a boil while stirring frequently to dissolve the sugar. Reduce heat and let the mixture bubble gently for about 15 minutes until thickened, stirring often to avoid scorching. Remove from heat.
- Puree the cranberry mixture: Transfer the hot cranberry mixture to a high-speed blender, food processor, or use an immersion blender to puree until smooth. Chill the puree thoroughly, placing it in the freezer briefly to speed up cooling if desired.
- Make the crust: While the cranberries cook, mix gingersnap crumbs with melted butter until evenly combined. Press this mixture firmly into the bottom of the buttered pie plate using your fingers or the bottom of a measuring cup. Refrigerate the crust while you prepare the filling.
- Create the mousse filling: Blend the cooled cranberry puree with cream cheese and vanilla paste until completely smooth and lump-free. Using a food processor is recommended for best results. If using a stand mixer or hand beaters, soften the cream cheese beforehand.
- Fold in whipped topping: Gently fold the whipped topping into the cranberry-cream cheese mixture until no streaks remain, keeping the mousse light and airy.
- Assemble and chill: Spoon the cranberry mousse into the prepared gingersnap crust, dolloping first then spreading evenly with an offset spatula. Refrigerate the pie for several hours or overnight to set and become sliceable.
- Garnish and serve: Before serving, top the pie with additional whipped topping or sweetened whipped cream. Optionally decorate with sugared cranberries and fresh mint leaves for a festive presentation.
Notes
- For best texture, ensure the cranberry puree is fully chilled before blending with cream cheese.
- Sugared cranberries can be made by tossing fresh cranberries in sugar and letting them dry until crystalized for added decoration and crunch.
- The pie is best served chilled and can be stored covered in the refrigerator for up to 3 days.
- Using brick-style cream cheese and a food processor ensures a smooth, lump-free mousse.
Keywords: cranberry mousse pie, gingersnap crust, holiday dessert, creamy cranberry pie, no-bake pie, whipped cream pie