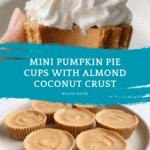
Mini Pumpkin Pie Cups Recipe
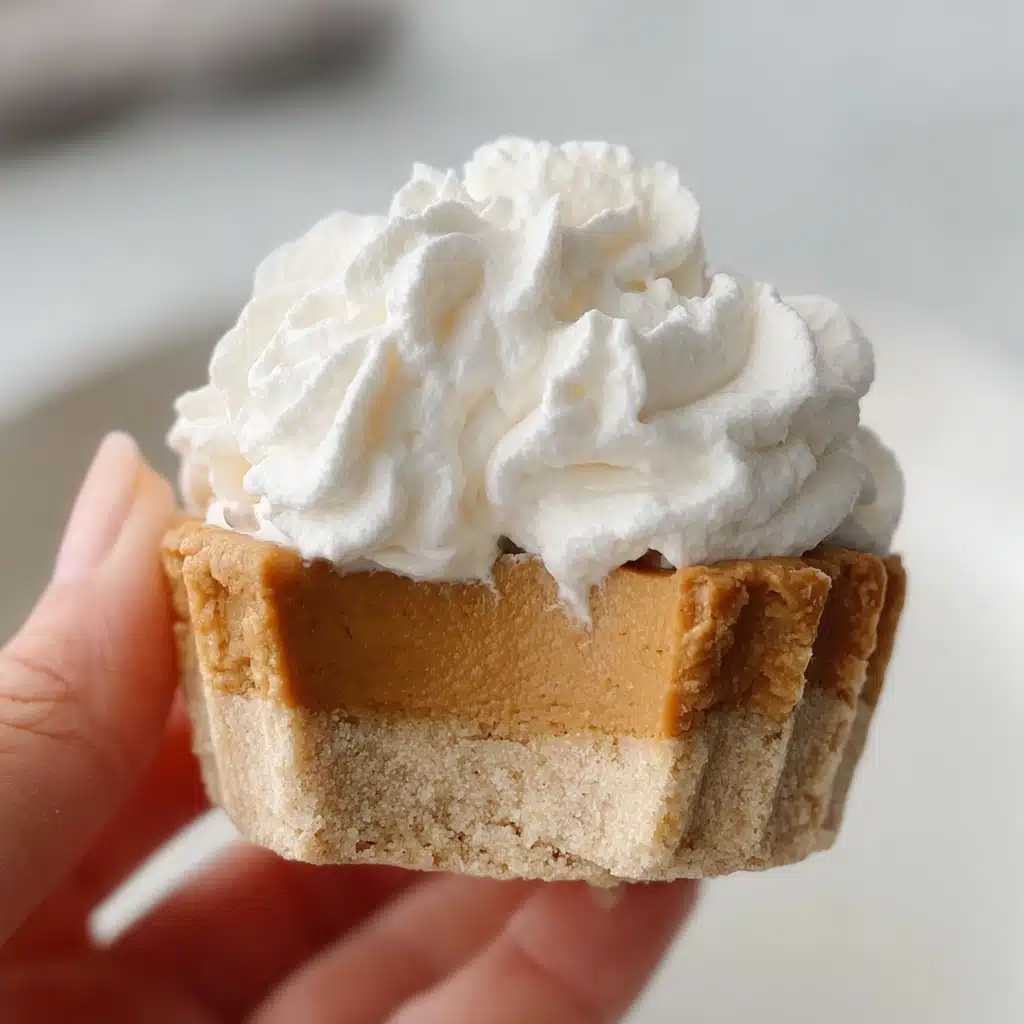
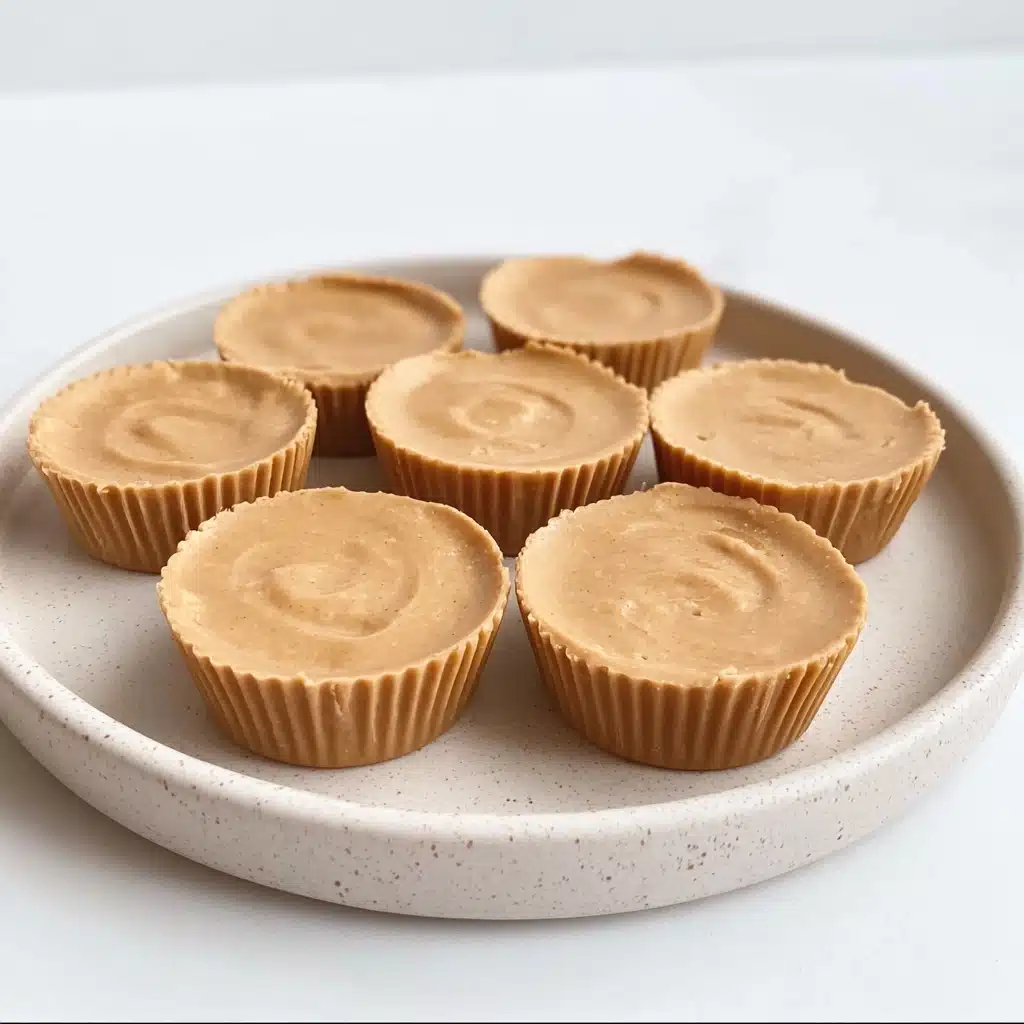
If you’re looking for a delightful treat that captures the cozy essence of fall in a perfectly portable form, these Mini Pumpkin Pie Cups are exactly what you need. Each bite-sized cup combines a subtly nutty, tender crust with a luscious, spiced pumpkin filling that feels both indulgent and wholesome. The balance of creamy cashew butter and warm pumpkin pie spice brings an irresistible aroma and flavor to these little bundles of comfort. Whether for a festive gathering or a simple snack, Mini Pumpkin Pie Cups pack all the autumn vibes into one charming, easy-to-eat dessert.
Ingredients You’ll Need
The magic behind these Mini Pumpkin Pie Cups lies in a handful of simple, wholesome ingredients that work together beautifully. Each component plays a crucial role in delivering the perfect texture, flavor, and seasonal flair, making it easy and fun to prepare your own little pumpkin pies without any fuss.
- Almond flour: Adds a mild nuttiness and sturdy base to the crust while keeping it gluten-free.
- Coconut flour: Absorbs moisture to help the crust set firmly with a subtle tropical hint.
- Coconut oil (melted): Binds the crust ingredients and adds a rich, buttery flavor.
- Maple syrup (for crust): Sweetens the crust naturally and adds depth to the flavor profile.
- Cashew butter: Creates a creamy, dreamy texture in the pumpkin layer with a mild, nutty flavor.
- Coconut oil (for pumpkin layer): Ensures the pumpkin filling sets nicely and adds richness.
- Pumpkin puree: The star ingredient that brings that unmistakable cozy pumpkin taste and vibrant color.
- Maple syrup (for pumpkin layer): Sweetens the filling with natural warmth and complexity.
- Vanilla extract: Enhances the overall flavor with a sweet, comforting aroma.
- Pumpkin pie spice: The quintessential spice blend that makes this dessert feel like autumn in every bite.
- Sea salt: Balances sweetness and brightens the flavors perfectly.
How to Make Mini Pumpkin Pie Cups
Step 1: Prepare the crust
Start by preheating your oven to 350°F and lining a cupcake tin with liners. Mix the almond flour, coconut flour, melted coconut oil, and maple syrup in a small bowl until well combined. Scoop about one tablespoon of the dough for each liner and roll it into a ball before pressing it firmly into the cupcake liner to form the crust base. This forms a sturdy yet tender shell that’s the perfect anchor for your pumpkin filling.
Step 2: Bake and cool the crust
Bake the crusts for roughly 12 minutes or until the edges take on a slight golden-brown hue. This step ensures the crust has a delicate crispness and won’t get soggy under the pumpkin filling. Once baked, allow the crusts to cool completely to maintain their structure once you add the pumpkin layer.
Step 3: Mix the pumpkin filling
In a separate bowl, combine the cashew butter, coconut oil, pumpkin puree, maple syrup, vanilla extract, pumpkin pie spice, and sea salt. Warm this mixture gently in the microwave for 15 to 30 seconds or on the stovetop so that it becomes easier to mix. Stir continuously until everything is silky smooth and evenly incorporated, ensuring each Mini Pumpkin Pie Cup will be luscious and flavorful.
Step 4: Assemble the cups
Pour or spoon the pumpkin filling evenly over each cooled crust, filling the cupcake liners nicely. The filling should have a creamy consistency that holds its shape once chilled.
Step 5: Chill and set
Place your filled cupcake tin in the freezer for at least two hours to allow the Mini Pumpkin Pie Cups to set firmly. This chilling step is key for achieving the right texture, making each cup slice cleanly with a satisfying bite.
How to Serve Mini Pumpkin Pie Cups
Garnishes
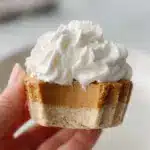
These Mini Pumpkin Pie Cups shine with just a dollop of whipped cream on top—whether it’s classic dairy or coconut whipped cream for a dairy-free twist. Sprinkle a little cinnamon, nutmeg, or chopped toasted pecans for extra texture and flavor that complements the pie perfectly.
Side Dishes
Serve these pumpkin cups alongside a warm chai latte or a spiced apple cider to keep the fall theme going strong. They also pair beautifully with fresh fruit, such as cranberry or pomegranate, which provide a tart contrast to the sweet, creamy filling.
Creative Ways to Present
If you’re hosting a party, try arranging the Mini Pumpkin Pie Cups on a rustic wooden board with autumn leaves and mini gourds as decoration. For a fun twist, drizzle a little caramel or melted dark chocolate over the top just before serving. You can even serve them in mini mason jars for a charming, portable dessert option.
Make Ahead and Storage
Storing Leftovers
Keep any leftover Mini Pumpkin Pie Cups in an airtight container in the refrigerator for up to 4 days. This helps preserve their creamy texture and the freshness of the pumpkin flavor, so you can enjoy them over several days without sacrificing taste.
Freezing
These cups freeze wonderfully! Place them in a single layer on a baking sheet and freeze until solid, then transfer to a freezer-safe container or bag. They will keep well for up to 2 months, making them perfect for prepping in advance for the holidays.
Reheating
To enjoy frozen Mini Pumpkin Pie Cups, thaw them overnight in the refrigerator. They are best served chilled or at room temperature, so no reheating is necessary. If you prefer a warmer dessert, pop them in a low-temperature oven for a few minutes, but avoid microwaving as the texture may suffer.
FAQs
Can I use other nut butters instead of cashew butter?
Absolutely! Almond butter, sunflower seed butter, or even peanut butter can be swapped in according to your preference or dietary needs. Each will slightly alter the flavor but still keep the creamy texture you want.
Are these Mini Pumpkin Pie Cups gluten-free?
Yes! Since the crust is made from almond and coconut flours, these cups are naturally gluten-free, which makes them a fantastic dessert option for those avoiding gluten.
Can I make Mini Pumpkin Pie Cups vegan?
They’re already vegan-friendly as written, assuming you use maple syrup and plant-based ingredients. Just be sure to top with a vegan whipped cream if you want a creamy garnish.
What is the best way to keep the crust from getting soggy?
Allow the crust to cool completely before adding the pumpkin filling, and bake it until it’s slightly golden to ensure it sets firmly. Freezing the cups helps the pumpkin layer firm up quickly, which also prevents sogginess.
Can I prepare these Mini Pumpkin Pie Cups without a freezer?
You can chill them in the refrigerator, but it will take longer for the filling to set completely—around 4 to 6 hours. Freezing is faster and helps maintain the perfect texture, but refrigeration works fine if time allows.
Final Thoughts
These Mini Pumpkin Pie Cups are truly a little bite of autumn magic, combining rich, comforting flavors with a texture that’s both creamy and crisp. They’re easy to make, fun to share, and absolutely delicious whether it’s for a simple family dessert or a festive party treat. Give them a try and watch how these tiny pies bring a big smile to everyone’s face this season!
PrintMini Pumpkin Pie Cups Recipe
These Mini Pumpkin Pie Cups are a delightful and healthy dessert perfect for fall or any time you crave a seasonal treat. Featuring a nutty almond and coconut flour crust with a creamy, spiced pumpkin filling, they are easy to make and naturally sweetened with maple syrup. A great gluten-free and low-sugar alternative to traditional pumpkin pie, these bite-sized cups are perfect for parties or simple snacking.
- Prep Time: 15 minutes
- Cook Time: 12 minutes
- Total Time: 2 hours 27 minutes
- Yield: 12 mini pumpkin pie cups 1x
- Category: Dessert
- Method: Baking and freezing
- Cuisine: American
- Diet: Gluten Free
Ingredients
For the crust
- 1/2 cup almond flour
- 1/4 cup coconut flour
- 3 tbsp coconut oil (melted)
- 2 tbsp maple syrup
For the pumpkin layer
- 1/2 cup cashew butter (or nut/seed butter of choice)
- 1/2 cup coconut oil
- 1/3 cup pumpkin puree
- 1/4 cup maple syrup
- 1 tsp vanilla extract
- 2 tsp pumpkin pie spice
- 1/4 tsp sea salt
Instructions
- Preheat and prepare cupcake liners: Preheat your oven to 350°F (175°C). Place cupcake liners into a cupcake tin and set aside to prepare the crust.
- Make the crust: In a small bowl, combine almond flour, coconut flour, melted coconut oil, and maple syrup. Mix until a dough forms. Scoop about 1 tablespoon of dough per cupcake liner, roll into balls, and then press them firmly into the bottom of each liner to form an even crust layer.
- Bake the crust: Bake the crusts at 350°F for about 12 minutes or until the edges start to slightly brown. Once done, remove from oven and allow the crusts to cool completely.
- Prepare the pumpkin layer: In another bowl, mix together cashew butter, coconut oil, pumpkin puree, maple syrup, vanilla extract, pumpkin pie spice, and sea salt. Microwave for 15-30 seconds or warm on the stovetop, then stir thoroughly until the mixture is smooth and fully combined.
- Assemble and chill: Pour the pumpkin mixture evenly over each cooled crust in the cupcake liners. Place the cupcake tin in the freezer and chill for at least two hours or until the pumpkin filling is firm.
- Serve: Optionally, top each mini pumpkin pie cup with whipped cream before serving. Enjoy your delicious, bite-sized pumpkin treats!
Notes
- For a nut-free version, substitute cashew butter with sunflower seed butter.
- You can prepare these cups a day ahead and keep them frozen. Allow to thaw slightly before serving.
- Use canned pumpkin puree without added spices or sugars for best results.
- Maple syrup can be swapped with honey if preferred.
- Ensure crust is completely cooled to prevent sogginess once pumpkin layer is added.
Nutrition
- Serving Size: 1 mini pumpkin pie cup
- Calories: 180 kcal
- Sugar: 8 g
- Sodium: 45 mg
- Fat: 16 g
- Saturated Fat: 10 g
- Unsaturated Fat: 5 g
- Trans Fat: 0 g
- Carbohydrates: 9 g
- Fiber: 3 g
- Protein: 3 g
- Cholesterol: 0 mg
Keywords: mini pumpkin pie cups, pumpkin dessert, gluten free pumpkin pie, healthy pumpkin pie, fall dessert, pumpkin spice treats