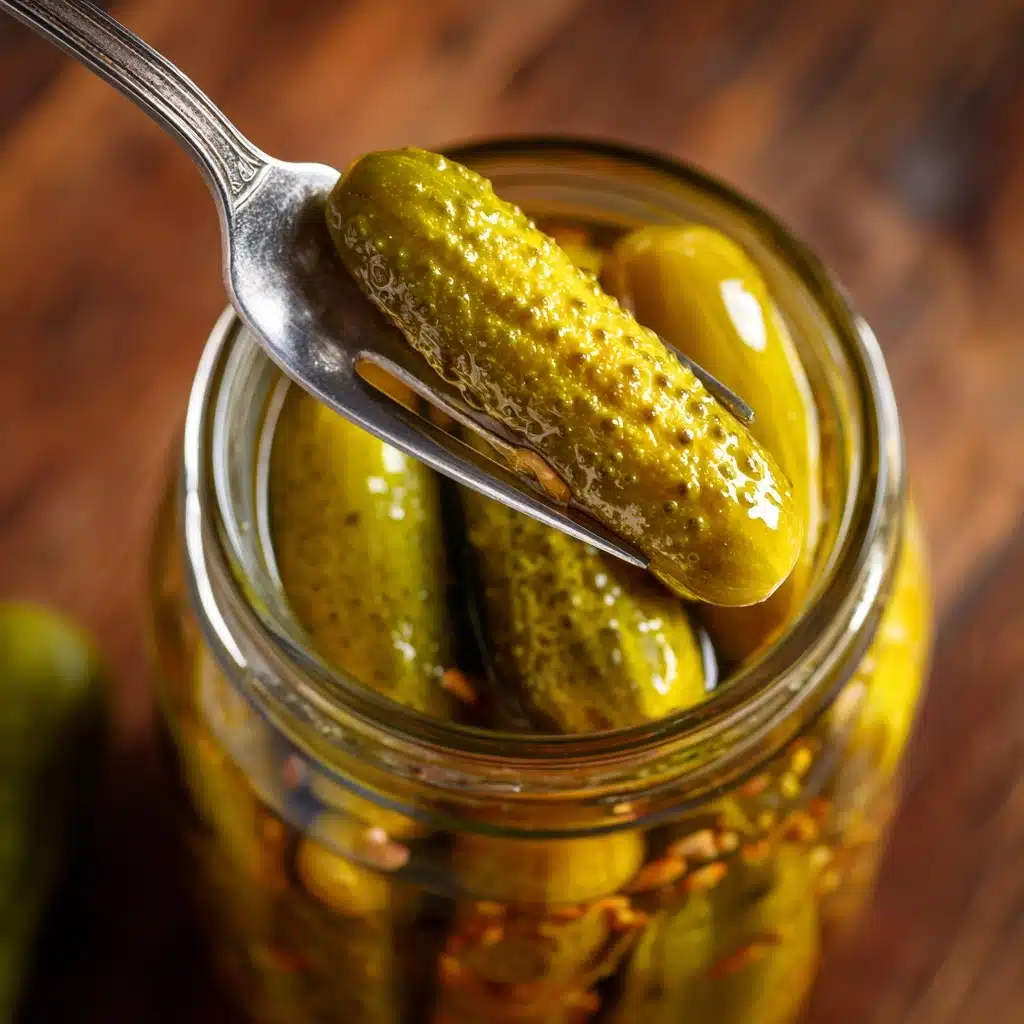
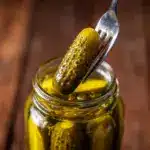
Easy Crunchy Dill Pickle Recipe for Canning Recipe
If you have ever craved that perfect mix of tangy, crisp, and aromatic flavors in your pantry, you are absolutely going to fall in love with this Easy Crunchy Dill Pickle Recipe for Canning. Nothing beats the satisfaction of biting into homemade pickles that still have that satisfying crunch, bursting with dill and peppery notes that lift every sandwich, burger, or snack. Plus, this recipe is wonderfully simple, inviting you into the joyful tradition of home canning with just a handful of fresh ingredients and straightforward techniques. Whether you are new to pickling or a seasoned pro, these pickles will become your go-to for preserving summer’s best cucumbers all year long.

Ingredients You’ll Need
Every ingredient in this recipe plays a pivotal role to give your pickles their signature crunch, tang, and irresistible flavor. From the fresh cucumbers to the aromatic spices, each element contributes to making this Easy Crunchy Dill Pickle Recipe for Canning such a reliable favorite.
- 3 lbs. pickling cucumbers: Choose small, firm cucumbers for the best crunch and texture in your pickles.
- 4 tsp dill seeds: These impart that unmistakable dill aroma and flavor, grounding your pickles in classic taste.
- 2 tsp mustard seeds: Adding a subtle, warm spiciness that livens up the pickle’s profile.
- 4 cloves garlic: Whole cloves give a mellow bite without overwhelming the jar.
- 16 whole black peppercorns: Peppercorns deepen the flavor, providing subtle heat and complexity.
- 2 cups water: The base of your brine, balancing salt and vinegar for perfect preservation.
- 1 ½ cups white vinegar: Essential for tang, flavor, and food safety in the canning process.
- 2 tbsp pickling salt: Pure and free from additives, this salt enhances flavor while preserving freshness.
- 1 tbsp sugar: Just the right touch of sweetness to round out the sharp vinegar taste.
How to Make Easy Crunchy Dill Pickle Recipe for Canning
Step 1: Prepare the Mason Jars
Start by thoroughly cleaning your mason jars and lids with soap and water. Then, sterilize them by dipping the jars and lids into boiling water. This step ensures that your pickles will be safe to store and keeps them fresh for longer. After removing from the boiling water, set the jars aside on clean towels to dry completely before filling.
Step 2: Prepare the Cucumbers
Wash your pickling cucumbers well to remove any dirt or debris. Trim off the ends because those contain enzymes that can cause your pickles to become soft. If your cucumbers are large, slice them so that they fit tightly into the jars. Properly sized cucumbers not only look great in the jar but help you preserve the crunchiness that makes this recipe so delightful.
Step 3: Prepare for Pickling
Layer the flavor in each jar by adding 1 teaspoon of dill seeds, ½ teaspoon of mustard seeds, one clove of garlic, and 4 whole black peppercorns. These spices and aromatics will infuse every bite of your pickles. Pack the cucumbers snugly into the jars, ensuring an even distribution to maximize flavor in each jar.
Step 4: Make the Pickle Brine
Combine the water, white vinegar, pickling salt, and sugar in a medium saucepan. Heat over medium-high heat and bring the mixture to a full boil, stirring until the salt and sugar have completely dissolved. This hot brine will help preserve your pickles while infusing the right balance of tang and sweetness.
Step 5: Fill the Jars and Seal
Pour the hot brine over the cucumbers in each jar, leaving about ½ inch of space at the top to allow for expansion. Seal the jars with their lids by tightening them just enough to be secure without over-tightening, which allows air bubbles to escape during canning.
Step 6: Water Bath Canning
Place a rack in the bottom of a large stock pot and fill it with enough water to cover the jars by at least an inch. Bring the water to a rolling boil. Submerge the sealed jars carefully and process for 10 minutes. This ensures proper sterilization and preserves the pickles safely. Once done, remove the jars and set them on a cooling rack. After 12 to 24 hours, test the seals by pressing the lids; a properly sealed lid will not pop up.
How to Serve Easy Crunchy Dill Pickle Recipe for Canning
Garnishes
Simple garnishes like fresh dill sprigs or a sprinkle of chili flakes can elevate these pickles on your serving platter. They not only add a pop of color but offer an additional layer of fragrance and a little heat if you like a bit of spice alongside your crunch.
Side Dishes
These pickles shine next to everything from juicy burgers and crispy fries to delicate potato salads and creamy sandwiches. The bright acidity and crisp texture cut through heavier flavors beautifully, making them the perfect tangy counterpoint for many classic dishes.
Creative Ways to Present
Think beyond the jar! Chop your crunchy pickles as a zesty addition to tuna salad, serve them alongside a charcuterie board for a salty and sour bite, or even dice them up as a topping for deviled eggs. These pickles bring versatility and flair wherever they appear.
Make Ahead and Storage
Storing Leftovers
If any of your jars don’t seal properly or once opened, store them in the refrigerator. They’ll stay fresh and crunchy for up to a week, perfect for snacking or quick additions to meals.
Freezing
Freezing is not recommended for these pickles, as the texture will be compromised. The water content in cucumbers causes them to become mushy upon thawing, which is the exact opposite of what you want with crunchy dill pickles.
Reheating
There’s no need to reheat pickles. Their crispness and flavor are best enjoyed cold or at room temperature, right out of the jar. Simply pop one open and dig in for maximum satisfaction!
FAQs
Why do I need to trim the cucumber ends?
Trimming the ends removes enzymes that cause the pickles to become soft. This small step is key for keeping your pickles crisp and crunchy long after canning.
Can I use regular table salt instead of pickling salt?
It’s best to use pickling salt because it doesn’t contain additives like iodine or anti-caking agents, which can cloud the brine and negatively affect the flavor and texture of your pickles.
How long do canned pickles last on the shelf?
When sealed properly, your canned pickles will stay shelf-stable for up to a year, allowing you to enjoy that fresh summer crunch any time.
What can I substitute for white vinegar?
White vinegar is preferred for its clear color and high acidity, important for safety and preserving the pickle’s appearance. Apple cider vinegar can be used as an alternative but may alter the flavor and color slightly.
Why are my pickles not crunchy after canning?
If your pickles come out soft, it may be due to overripe cucumbers, not trimming the ends, or insufficient processing time. Using fresh cucumbers and following all steps carefully helps maintain that delightful crunch.
Final Thoughts
There is something truly special about making your own pickles, especially when they turn out as perfectly crunchy and flavorful as this Easy Crunchy Dill Pickle Recipe for Canning promises. It’s a satisfying, rewarding process that fills your kitchen with enticing aromas and your pantry with delicious jars of homemade goodness. Give it a try, and watch these pickles quickly become a staple in your home and a favorite to share with friends and family.
PrintEasy Crunchy Dill Pickle Recipe for Canning Recipe
This Easy Crunchy Dill Pickle Recipe for Canning provides a straightforward method to create crisp, flavorful pickles using fresh cucumbers, dill seeds, garlic, and a tangy vinegar brine. Perfect for preserving the harvest, these pickles can be stored shelf-stable for up to a year if sealed properly through water bath canning.
- Prep Time: 25 minutes
- Cook Time: 15 minutes
- Total Time: 40 minutes plus 12-24 hours cooling/sealing time
- Yield: Approximately 4 quart jars 1x
- Category: Preserves
- Method: Water Bath Canning
- Cuisine: American
- Diet: Gluten Free
Ingredients
Pickles and Spices
- 3 lbs. pickling cucumbers
- 4 tsp dill seeds
- 2 tsp mustard seeds
- 4 cloves garlic
- 16 whole black peppercorns
Brine
- 2 cups water
- 1 ½ cups white vinegar
- 2 tbsp pickling salt
- 1 tbsp sugar
Instructions
- Prepare the Mason Jars: Clean the glass mason jars and lids thoroughly with soap and water. Submerge them in boiling water to sterilize, then place them on clean towels to air dry completely before use.
- Prepare the Cucumbers: Rinse the cucumbers under cold water and trim off the ends to prevent softening. Cut large cucumbers to fit easily inside the jars without overcrowding.
- Prepare for Pickling: In each sanitized jar, add 1 teaspoon of dill seeds, ½ teaspoon of mustard seeds, 1 clove of garlic, and 4 black peppercorns. Pack the cucumbers tightly into the jars, distributing them evenly around the spices.
- Make the Pickle Brine: Combine water, white vinegar, pickling salt, and sugar in a medium saucepan. Bring the mixture to a boil over medium-high heat, stirring until the salt and sugar are fully dissolved. Remove from heat.
- Jar the Pickles: Pour the hot brine into the jars carefully, leaving about ½ inch of headspace at the top. Secure the lids hand-tight but do not overtighten to allow air to escape during processing.
- Water Bath Canning: Place a rack at the bottom of a large stock pot and fill it with boiling water. Submerge the jars completely and process for 10 minutes to ensure proper sealing and sterilization. Remove the jars carefully and set them on a rack to cool without disturbance.
- Seal and Store: After 12 to 24 hours, test each lid by pressing in the center–it should not pop back if properly sealed. Store sealed jars in a cool, dark place for up to one year. If any jar does not seal, refrigerate and consume within 7 days.
Notes
- Trimming cucumber ends removes enzymes that cause softness and preserves crunchiness.
- Do not overfill jars with cucumbers; pack them snugly but allow space for brine.
- Ensure jars and lids are fully sterilized to prevent spoilage.
- Use pickling salt rather than table salt to avoid cloudiness in brine.
- Adjust spices to preference for a milder or stronger flavor.
- Water bath canning is necessary for safe long-term storage.
Nutrition
- Serving Size: 1/4 cup (about 2 pickles)
- Calories: 10 kcal
- Sugar: 1 g
- Sodium: 620 mg
- Fat: 0 g
- Saturated Fat: 0 g
- Unsaturated Fat: 0 g
- Trans Fat: 0 g
- Carbohydrates: 2 g
- Fiber: 1 g
- Protein: 0.3 g
- Cholesterol: 0 mg
Keywords: dill pickles, canning recipe, crunchy pickles, homemade pickles, pickling cucumbers, water bath canning