Red Velvet Marble Waffles: A Delightful Recipe
If you’re craving a breakfast that feels both indulgent and fun, look no further than Red Velvet Marble Waffles: A Delightful combination of rich, tender red velvet and classic vanilla waffle batters swirled into a beautiful marbled masterpiece. This dish bursts with color, flavor, and a perfect texture that is as exciting to look at as it is to taste. Every bite is a gentle hug of cocoa, buttermilk smoothness, and a hint of sweet vanilla, making these waffles the ultimate treat to brighten any morning. Whether it’s a weekend brunch or a special occasion, these Red Velvet Marble Waffles: A Delightful recipe will quickly become a beloved favorite in your kitchen.
Ingredients You’ll Need
The magic behind these delicious Red Velvet Marble Waffles: A Delightful lies in a handful of simple yet essential ingredients. Each one plays a crucial role in creating the perfect balance of flavor, texture, and that irresistible marbled appearance you’ll fall in love with.
- All-purpose flour: The backbone of the batter, providing structure and tenderness to the waffles.
- Sugar: Adds just the right amount of sweetness to enhance both the classic and red velvet batters.
- Baking powder and baking soda: These leavening agents ensure your waffles spring up light and fluffy.
- Salt: Balances the sweetness and deepens the overall flavor.
- Buttermilk: Brings a tangy richness that keeps the waffles moist and tender.
- Eggs: Provide structure and help the batter bind together perfectly.
- Melted butter: Adds moisture and a velvety richness that makes every bite melt in your mouth.
- Vanilla extract: Lends warmth and enhances the sweet notes of the batter.
- Cocoa powder: Essential for that classic red velvet chocolate depth.
- Red food coloring: Gives the red velvet portion its signature vibrant, eye-catching hue.
How to Make Red Velvet Marble Waffles: A Delightful
Step 1: Prepare the Classic Waffle Batter
Start by whisking together the dry ingredients – flour, sugar, baking powder, baking soda, and salt – in a mixing bowl. In a separate bowl, beat together the buttermilk, eggs, melted butter, and vanilla extract until smooth. Gently combine the wet ingredients with the dry ones, stirring just until everything comes together. Avoid overmixing to keep the waffles tender and light.
Step 2: Prepare the Red Velvet Batter
In a new bowl, blend the dry ingredients for the red velvet batter: flour, cocoa powder, sugar, baking powder, baking soda, and salt. Then, whisk the wet ingredients – buttermilk, egg, melted butter, vanilla extract, and red food coloring – until fully incorporated. Combine the wet and dry mixtures, stirring gently until just combined for that signature red velvet texture.
Step 3: Preheat the Waffle Iron
Before you create your marbled magic, preheat your waffle iron according to the manufacturer’s instructions. A well-heated waffle iron ensures your waffles come out crispy on the outside and fluffy on the inside.
Step 4: Create the Marbled Effect
Lightly grease the waffle iron with butter or cooking spray to prevent sticking. Pour a small ladleful of the classic waffle batter on one side, followed by a small amount of the red velvet batter on another. Use a toothpick or knife to swirl the two batters together gently, creating a gorgeous marbled effect that will impress every single bite.
Step 5: Cook the Waffles
Close the waffle iron and cook according to the manufacturer’s instructions, usually until the waffles are golden brown and perfectly cooked through. The smell of that warm red velvet aroma will make waiting nearly impossible!
Step 6: Serve Warm
Once cooked, carefully remove the waffles and serve immediately with your favorite toppings. The contrast of colors and the moist, tender crumb will delight your senses in every forkful.
How to Serve Red Velvet Marble Waffles: A Delightful
Garnishes
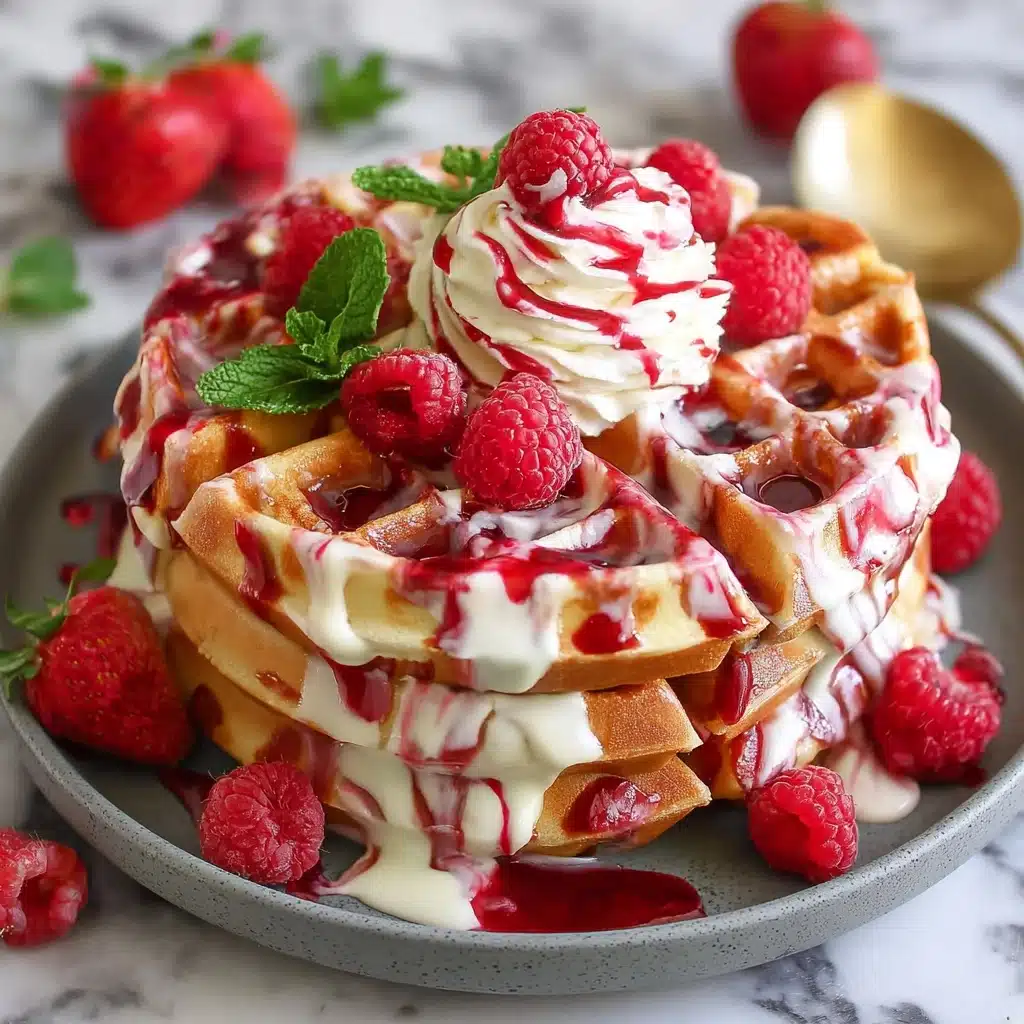
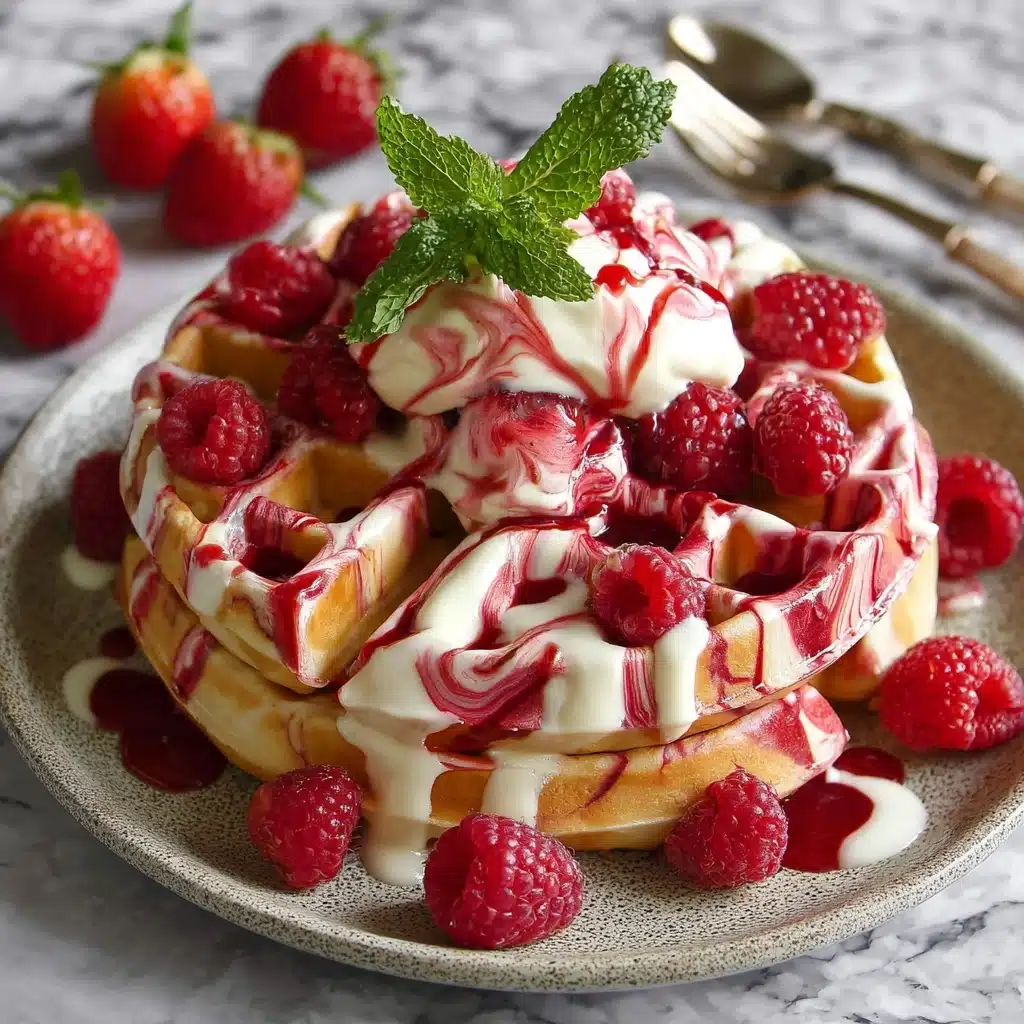
Top your Red Velvet Marble Waffles: A Delightful creation with a cloud of freshly whipped cream, a scattering of fresh berries like strawberries or blueberries, or a drizzle of pure maple syrup for a sweet, luscious finish. Nuts, chocolate chips, or even a dusting of powdered sugar add an extra touch of flair and flavor.
Side Dishes
Pair these waffles with crispy bacon or savory sausages for the perfect sweet-and-savory balance. Fresh fruit salad or a simple yogurt parfait on the side can also keep your breakfast feeling bright and refreshing without overpowering the waffles themselves.
Creative Ways to Present
For a fun twist, stack several Red Velvet Marble Waffles: A Delightful layers with cream cheese frosting between each waffle, much like a cake. You can also cut them into bite-sized pieces and serve with fondue or chocolate sauce for a playful brunch party dish everyone will talk about.
Make Ahead and Storage
Storing Leftovers
These waffles are best enjoyed fresh but any leftovers can be stored in an airtight container in the refrigerator for up to 2 days without losing their tender texture and rich flavor.
Freezing
If you want to keep your Red Velvet Marble Waffles: A Delightful ready for later, freeze them individually on a baking sheet before transferring to a freezer-safe bag. This way, they won’t stick together and can be conveniently reheated.
Reheating
To reheat, toast the waffles in a toaster or toaster oven for a few minutes until heated through and crispy again. Avoid microwaving if you want to keep that perfect waffle texture intact.
FAQs
Can I make the batter ahead of time?
While it’s best to prepare and cook the batter fresh for optimal texture, you can mix the batters a few hours ahead and keep them covered in the refrigerator. Just give them a gentle stir before cooking.
What if I don’t have red food coloring?
For the iconic red velvet color, food coloring is key. However, you could experiment with natural alternatives like beet juice, though the color and flavor may be subtler.
Can I use a different type of milk instead of buttermilk?
Buttermilk adds a tangy richness crucial to the waffles’ moist crumb, but if you don’t have it, you can substitute with regular milk plus a teaspoon of vinegar or lemon juice to mimic its effect.
How do I prevent the waffles from sticking to the iron?
Always lightly grease your waffle iron before cooking and make sure it’s preheated properly. This will help ensure easy release and maintain the waffle’s beautiful shape.
Can I make these waffles gluten-free?
For a gluten-free version, substitute the all-purpose flour with a good gluten-free blend designed for baking. Adjustments might be necessary to achieve the same texture, but it’s definitely doable!
Final Thoughts
If you’re looking to wow your friends or simply treat yourself to something extraordinary, Red Velvet Marble Waffles: A Delightful recipe is your go-to. This vibrant dish brings together the best of both worlds — rich red velvet and classic waffles — delivering beauty and flavor in every bite. Don’t wait to bring a little magic to your breakfast table with this irresistible recipe!
PrintRed Velvet Marble Waffles: A Delightful Recipe

These Red Velvet Marble Waffles combine classic waffle batter with vibrant red velvet batter swirled together to create a visually stunning and delicious breakfast treat. Crispy on the outside and soft on the inside, these waffles deliver a perfect balance of vanilla and cocoa flavors with a hint of tang from buttermilk, ideal for a special brunch or weekend indulgence.
- Prep Time: 15 minutes
- Cook Time: 20 minutes
- Total Time: 35 minutes
- Yield: 6 waffles 1x
- Category: Breakfast
- Method: Waffle Iron
- Cuisine: American
- Diet: Vegetarian
Ingredients
Classic Waffle Batter
- 1 1/2 cups all-purpose flour
- 1 tablespoon sugar
- 1 teaspoon baking powder
- 1/2 teaspoon baking soda
- 1/4 teaspoon salt
- 1 cup buttermilk
- 2 large eggs
- 1/4 cup melted butter
- 1 teaspoon vanilla extract
Red Velvet Batter
- 1 cup all-purpose flour
- 2 tablespoons cocoa powder
- 1/4 cup sugar
- 1 teaspoon baking powder
- 1/2 teaspoon baking soda
- 1/4 teaspoon salt
- 3/4 cup buttermilk
- 1 large egg
- 1/4 cup melted butter
- 1 teaspoon vanilla extract
- 1 tablespoon red food coloring
Instructions
- Prepare the Classic Waffle Batter: In a large mixing bowl, whisk together the all-purpose flour, sugar, baking powder, baking soda, and salt until evenly combined. In another bowl, beat the buttermilk, eggs, melted butter, and vanilla extract together. Pour the wet ingredients into the dry ingredients and gently fold until just combined. Be careful not to overmix to keep waffles light and fluffy.
- Prepare the Red Velvet Batter: In a separate bowl, combine the flour, cocoa powder, sugar, baking powder, baking soda, and salt. In another bowl, whisk together the buttermilk, egg, melted butter, vanilla extract, and red food coloring until fully blended. Add the wet ingredients to the dry ingredients and mix until just combined, again avoiding overmixing.
- Preheat the Waffle Iron: Follow your waffle iron manufacturer’s instructions to preheat. Ensuring the waffle iron is properly heated helps achieve crisp, evenly cooked waffles.
- Create the Marbled Effect: Lightly grease the waffle iron with butter or non-stick spray. Spoon a small amount of the classic waffle batter onto the waffle iron, followed by a small amount of the red velvet batter. Use a toothpick or knife to gently swirl the two batters together, creating a beautiful marbled pattern without fully mixing them.
- Cook the Waffles: Close the waffle iron and cook according to your appliance’s instructions or until the waffles turn golden brown and are cooked through. This usually takes about 4-6 minutes depending on your waffle iron.
- Serve: Remove the waffles carefully and serve warm. Top with your favorite accompaniments such as whipped cream, fresh berries, maple syrup, or even cream cheese frosting for a decadent touch.
Notes
- Do not overmix the batter to maintain a light and tender waffle texture.
- Use fresh buttermilk for the best tangy flavor and texture.
- Adjust the red food coloring amount to achieve your preferred shade of red velvet.
- If you don’t have buttermilk, you can make a substitute by adding 1 tablespoon of vinegar or lemon juice to 1 cup of milk and letting it sit for 5 minutes.
- Waffles are best served immediately but can be kept warm in a low oven for short periods.
- For crispier waffles, avoid stacking them while warm to prevent steam from making them soggy.
Nutrition
- Serving Size: 1 waffle (approx. 150g)
- Calories: 320 kcal
- Sugar: 8 g
- Sodium: 350 mg
- Fat: 14 g
- Saturated Fat: 6 g
- Unsaturated Fat: 7 g
- Trans Fat: 0 g
- Carbohydrates: 38 g
- Fiber: 2 g
- Protein: 7 g
- Cholesterol: 65 mg
Keywords: red velvet waffles, marble waffles, breakfast waffle recipe, red velvet breakfast, homemade waffles